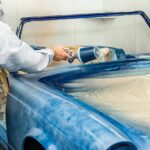
When your airbrush is splattering all over the place, you’ll want to identify the issue and fix it ASAP. From my years of airbrush experience, I’ve dealt with my fair share of airbrush splatter. Fortunately, I was able to learn what to do about it through research and trail & error.
So what exactly is airbrush splatter and why do you want to avoid it like the plague?
Airbrush splatter is a large-droplet spray pattern that occurs when the paint stream does not properly atomize. Airbrush splatter can be caused by multiple issues including spraying technique, air pressure, paint mix, a clogged nozzle, or a deficient needle. Resolving airbrush splatter could require additional maintenance, cleaning, part replacement, or a change in airbrush handling technique.
How to Fix Airbrush Splatter
To fix airbrush splatter, you’ll first need to troubleshoot the issue. When the paint is not atomizing properly out of the airbrush, many different issues can result. One of the most common issues is making a splatter pattern.
Therefore, if you want to fix airbrush splatter, find out why the paint is not properly atomizing.
NOTE: Atomization is the process of turning the paint fluid into tiny droplets. For an in-depth explanation of this process, check out this article on How an Airbrush Works.
Improper atomization could be due to a few different things;
- Spraying technique
- Air pressure is too low
- Paint Mix is too thick
- A clogged nozzle
- A deficient needle
To troubleshoot your airbrush splatter problem, go through each of these issues in order from 1 to 5 to make sure that each of them is addressed. The spraying technique is the easiest to fix, while a deficient needle is the hardest to fix.
However, once you learn the optimal air pressure, spraying technique, and paint mixture, you’ll find that the nozzle and the needle are the most common culprits to cause airbrush splatter.
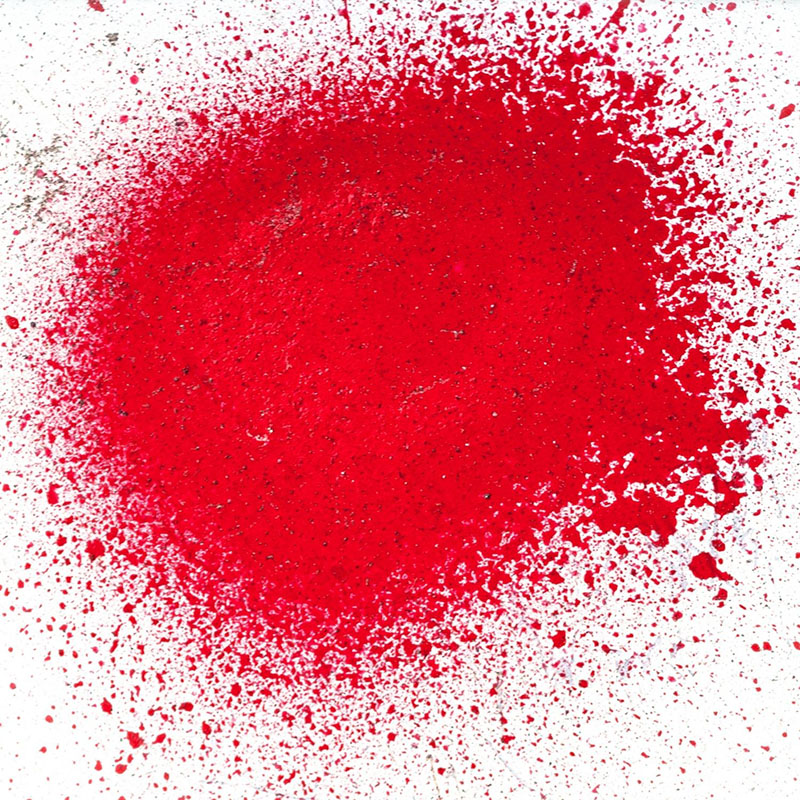
What Airbrush Splatter Looks Like
Before you go about fixing this issue, make sure that you actually have airbrush splatter. The splatter takes the form of larger than normal droplets forming on the substrate – they could be anywhere from small specks to large globs of paint.
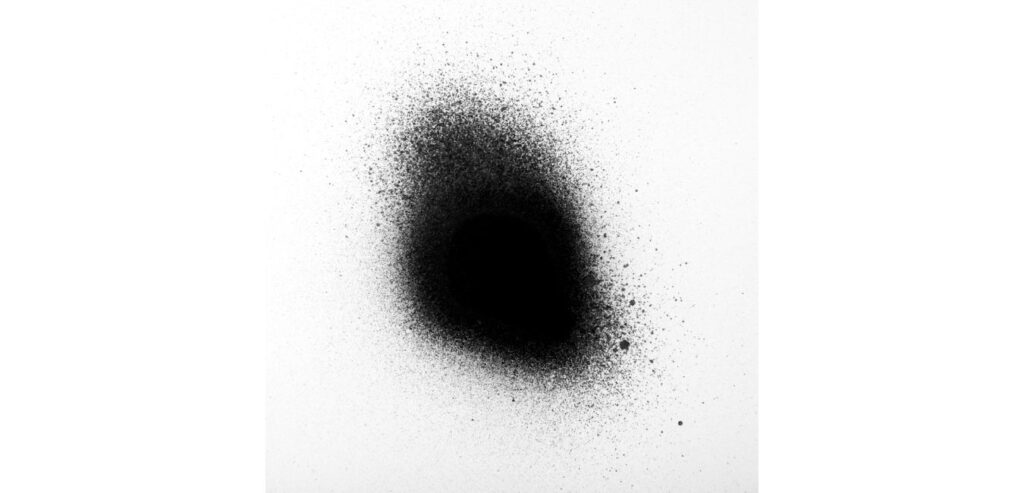
This is in contrast to the smooth fade pattern achievable by proper atomization.
If you’re sure that your airbrush is making this kind of splatter pattern, read on for how to troubleshoot and fix the issue.
The Main Causes of Airbrush Splatter
Airbrush splatter can be caused by several different issues. The following list is in order from the simplest fix to the most complicated. Start at the top and go down to troubleshoot your splatter problem.
1. Improper Spraying Technique
Make sure to push down on the trigger before pulling back. Pulling back on the trigger first can cause some paint to come out of the nozzle and then the sudden airflow will splatter the paint instead of properly atomizing it.
2. Air Pressure Too Low
When the air pressure is set too low on your compressor, the airbrush just won’t get enough airflow to atomize the paint properly. The resulting discharge from the airbrush will look more like a spray bottle (like for cleaning products) rather than a nice smooth fade.
The correct air pressure for airbrushing varies on the application. But a good rule of thumb is to have at least 15 PSI of air pressure at all times. You can do this with the air pressure regulator valve found on your air compressor. Sometimes a small tweak in the pressure setting can make all the difference in the quality of your paint stream.
3. Paint Mix Too Thick
A good rule of thumb is to reduce your airbrush paints at a ratio of 10% reducer to paint
Inadequate paint mix can also lead to airbrush splatter. Mixing your paint too thin or too thick can both cause improper atomization.
If your paint is too thin, it can bleed out of the nozzle, onto your needle, and then explode onto your substrate in a splatter pattern. This can occur when you have a severely reduced or very watery paint composition.
If your paint is too thick, it can simply clog your airbrush and lead to all kinds of spray irregularities, airbrush splatter being one of them.
Sometimes you’ll have to reduce more or less depending on the paint type, pigment or intended usage. But a good rule of thumb is to reduce your airbrush paints at a ratio of 10% reducer to paint.
4. Bent Needle or Improperly Set Needle
Another common cause of airbrush splatter is having a bent needle or an improperly set needle.
When the needle is set improperly, paint will flow out of the nozzle before you activate with the trigger. This will cause a slight blob of paint to form at the end (similar to improper spraying technique). When the air is activated, it will splatter the blob of paint all over your substrate.
A bent needle occurs when the sharp end gets knicked. This causes a slight burr to form instead of a nice straight tip. As the paint stream leaves the nozzle, it can be interrupted by the burr on the needle tip and cause a coarse spray pattern – eventually turning into airbrush splatter when it gets really bad.
When you bend your needle tip, you can either try to bend it back yourself or replace the needle. Often times, bending the needle is impractical and a replacement is needed.
Therefore, your best bet is to handle your needle with extreme care and avoid bending the tip.
5. Clogged Nozzle
Always clean your airbrush thouroughly after every use to avoid a clogged nozzle.
A clogged nozzle is caused by pigment buildup in the needle cap or within the actual nozzle. This is one of the most common and frankly one of the most frustrating issues in airbrushing – so it should be avoided if at all possible.
When dried paint gets into the nozzle area, it can plug the paint and airflow stream. This leads to many issues, one of them being a splatter pattern.
Always clean your airbrush thoroughly after every use to avoid a clogged nozzle.
If you’ve tried fixing the other four issues and you still have airbrush splatter, you probably have a clogged nozzle.
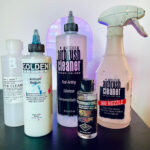
To fix the clogged nozzle issue, run airbrush cleaner through it and use a cleaning kit to carefully pick away the dried paint.
NOTE: Be very careful when cleaning the nozzle because the tip is fragile and can get “blown out” easily. When the nozzle tip opening is blown out, it will not properly seal around the needle, and the nozzle will have to be replaced.
When you understand how your airbrush works, you can easily spot the causes of airbrush splatter. This is such a valuable skill in airbrushing because your artwork is only as good as your gun is working. Ideally, the issue of airbrush splatter can be resolved before it becomes an issue. Good maintenance and cleaning will ensure that you keep your airbrush in pristine condition for years to come.