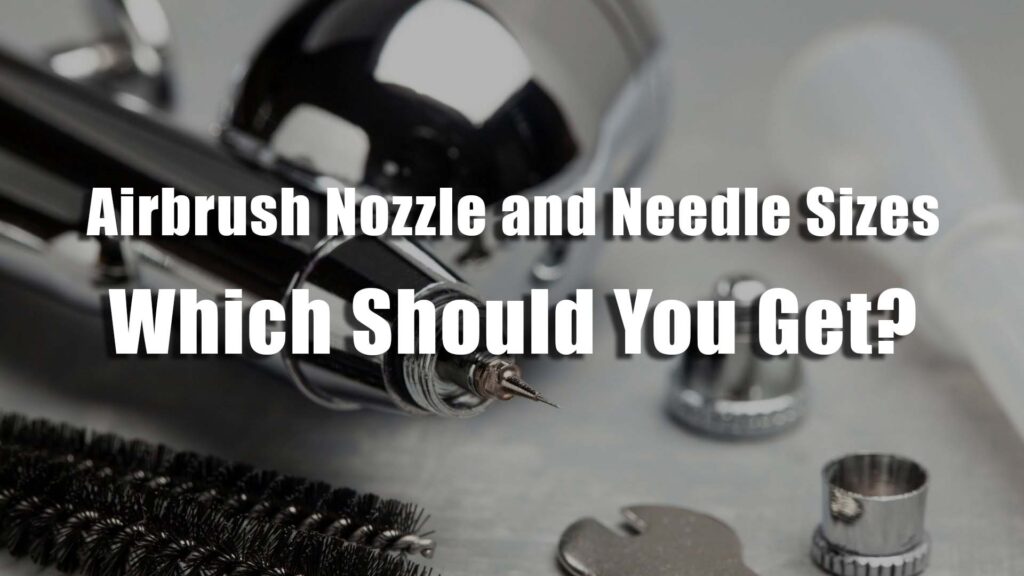
Airbrush nozzle and needle sizes can drastically change the outcome of your artwork. Choose the wrong size for the job at hand and it can be near impossible to get the effect you want.
Luckily, different sizes of needles and nozzles can also make your airbrush work better, if you know what to look for.
Generally speaking, airbrush nozzle sizes determine the width of your spray pattern. Smaller airbrush nozzles will make narrower spray patterns and are better for fine details. Larger airbrush nozzles produce a wide spray pattern and are designed for fades and fills.
If you want to skip the technicalities, get a 0.35mm sized airbrush nozzle for all-purpose work. It’s small enough for fine details but is also capable of large fills.


NOTE: Make sure you get an airbrush nozzle that matches your airbrush brand. This 0.35mm nozzle is made for Iwata CS/BS/SBS airbrush models only.
This article is all about the different sizes of airbrush needles and nozzles – what they do, how to identify them, how to match them, and how to change them out like a pro.
Common Nozzle and Needle Sizes
You’ll typically find 3 main airbrush nozzle sizes:
- Fine – 0.2mm
- Medium – 0.35mm
- Wide – 0.5mm
| Airbrush Nozzle Size | Performance |
|---|---|
| Fine: 0.2mm | Detail work only, for use with thinned paint |
| Medium: 0.35mm | Detail and wide spray, for use with thinned and airbrush-ready paints |
| Wide – 0.5mm | Wide spray only, for use with airbrush-ready and thick paint |
The fine: 0.2mm sized nozzles are meant for fine detail work only. These airbrush nozzles are typically meant for specialty work such as photorealistic portraits
Medium: 0.35mm sized nozzles are right in the middle. They’re designed for all-purpose airbrush work – small enough for detail work but large enough to lay some paint down in a fill pattern.
Wide 0.5mm nozzles have wide openings, let more paint through and produce relatively wide spray patterns. Wide nozzles are good for speeding up the process if you need to lay down the paint quickly for a project.
My personal finding from experimentation is that a 0.35 mm nozzle will work the best for most airbrush projects.
Fine 0.2mm nozzles can create impressively small details, but they clog easier unless you reduce your paint to an exact consistency. For this reason, you’ll find many professional airbrushers use 0.35mm nozzles even for photorealistic work, and then only crack out the 0.2mm nozzle for the finishing touches.
The 0.5mm also has its uses – murals, vehicles, or anything that needs a large base layer works well with a 0.5mm nozzle. It’s also useful for delivering thicker paint, a common problem with heavily pigmented paints.
However, I have found that the 0.35mm nozzle is also capable of handling fairly viscous paint and has the ability to lay down nice base layers. For this reason, the 0.35mm nozzle is my personal favorite.
Matching Airbrush Nozzles with Needles
Airbrush nozzles and needle sizes need to be matched up.
If you don’t use the same size and brand of needle and nozzle, they won’t properly connect in the closed position. This will lead to an irregular activation of the paint stream and damage to the nozzle.
Brands make their needles and nozzles slightly differently. So trying to combine different brands of needles and nozzles is guaranteeing that they will be different sizes. There may be some exceptions to this rule, but my recommendation is to just match brands and sizes – it will make your life easier in the long run.
Example: If you’re using an Iwata 0.35mm nozzle, get an Iwata 0.35mm needle to match.
How to Identity Airbrush Nozzle and Needle Sizes
Since airbrush needles and nozzles should be matched up, its important to identify the correct sizes ahead of time.
Some airbrush companies have a marking system on their airbrush nozzles and needles. For example, Badger Airbrush Co. has a marking system that identifies needle and nozzle sizes as fine, medium, or heavy.
Badger Needle Marking System:
- Fine – No line or one line
- Medium – Two lines
- Heavy – Three lines
Badger Nozzle Marking System:
- Fine – Stamped with XF or F
- Medium – Stamped with IL or Blank
- Heavy – Stamped with HD or L
With other airbrush brands, the size of the nozzle is more obvious just by looking at it.
For example, Iwata nozzles have very clear differences between their sizes:


Some brands might not mark their needle and nozzle sizes at all. In any case, it’s a good idea to mark your nozzle and needle sizes as soon as you get them. Labeled containers or even a small scratch on the side of the metal will save you from ever mixing the sizes up.
How to Change your Airbrush Nozzle and Needle
The nozzle and needle will eventually wear out with continual use. You can tell its time to change them when the needle develops a burr on the tapered end and the nozzle opening starts to get “blown out”.
To extend the life of your airbrush parts, make sure that you perform regular maintenance.
ARTICLE: How to Maintain an Airbrush | Best Tricks and Tips
Here’s how to change your airbrush nozzle and needle:
Step 1: Remove the needle from the airbrush – Loosen the locking nut and pull the needle out from the back of the airbrush.
Step 2: Remove the nozzle cap – Turn the nozzle cap counterclockwise on the front of the airbrush until it threads off.
Step 3: Remove the nozzle – Threaded nozzles will require a tool (a wrench that should come with the airbrush) to help loosen and detach from the body of the airbrush. Compression fit nozzles are held in place by the nozzle cap and will fall out immediately.
Step 4: Insert new nozzle – Thread the new nozzle onto the front of the airbrush body and use an airbrush tool to lightly tighten it into place. Overtightening can make it difficult to remove again. If using a compression fit nozzle, simply position it into place on the front opening of the airbrush.
Step 5: Replace the nozzle cap – Lightly thread the nozzle cap back onto the airbrush. Again, finger-tighten so as to avoid difficulty removing it later.
Step 6: Insert new needle – Carefully slide the new needle into the back of the airbrush. Push forward until the needle just touches the nozzle. Avoid pushing the needle into the nozzle with excessive force – this can cause damage to the nozzle which makes your airbrush not work properly.
Tighten the locking nut onto the needle and you’re good to go!
After trying different sizes for years, I’ve found myself consistently using 0.35mm nozzles and needles – they just do everything that I need them to do.
But it also doesn’t hurt to have a few spares of different sizes on hand – you never know when a nozzle or needle gives out and you need a replacement right away. A 0.2mm or a 0.5mm can be fun to play with and get different effects.
At the end of the day, the size of the needle and nozzle combo that you use is up to your personal preference. Experiment and find out what you like and what works best for you.
Above all, get after it and let some paint fly!
Till next time, keep on brushin.