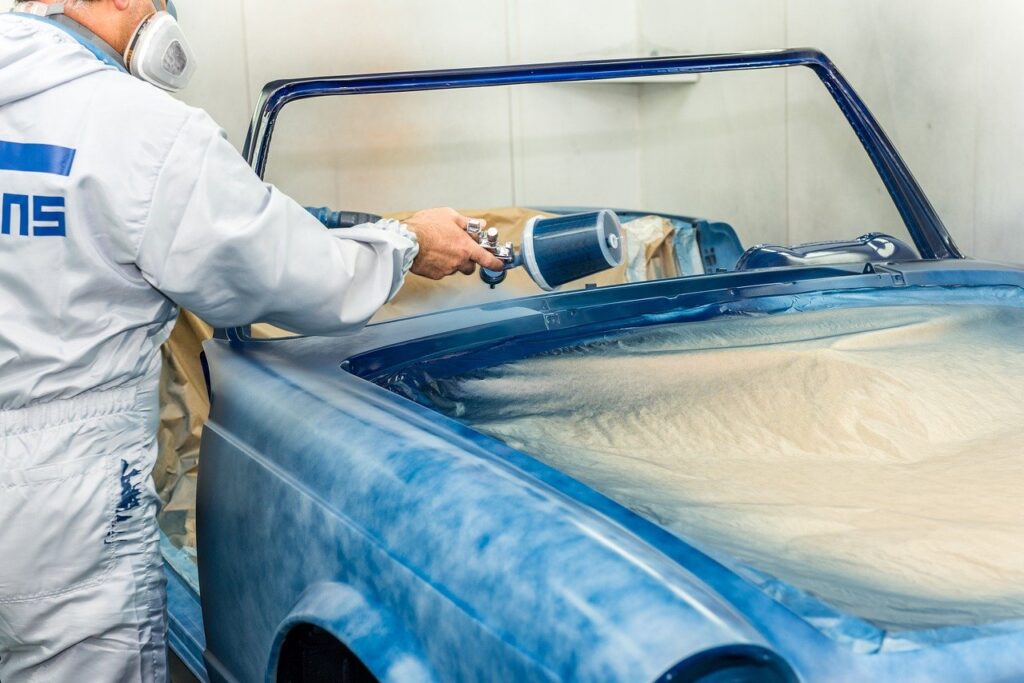
Airbrushing on metal is tricky business. You’re typically using an automotive style application method which involves different mediums, reducers, sealers, and top coats. For someone that’s not in the automotive industry, all this information can be overwhelming.
Luckily, once you demystify some of the industry jargon, the process to airbrush on metal becomes quite simple and straight-forward.
If you have doubts about whether you can airbrush on metal or not, let me assure you that you absolutely can!
You can airbrush on metal by using airbrush paint that is made to bind to hard substrates. The best airbrush paints for metal are usually solvent-based “automotive” paints because of their adhesion properties. Good substrate preparation, proper paint mixing, and a top coat will give you the best results.
This article outlines:
- The Best Airbrush Paints for Metal
- Mixing Automotive Airbrush Paint
- How to Airbrush on Metal Step-by-step
As an airbrush artist of many years, I have a unique perspective on the best process for airbrushing metal. I would like to share that perspective with you so you don’t have to make the same mistakes!
The Best Airbrush Paint for Metal
The best airbrush paints for metal have great binding properties. This means that they will readily stick to the substrate (the surface which you are painting).
Solvent based airbrush paints generally bind better to hard surfaces (like metal) than water based airbrush paints. This means anything with urethane or polyurethane should do the trick.
If you have a water based acrylic paint that you really like, don’t worry. You can mix in a urethane resin to give your favorite colors the binding properties needed for metal.
The other major consideration for airbrushing metal is how much coverage you need. For large areas, you’ll want to use a larger nozzle airbrush and a thicker urethane paint. This will give you a more consistent coverage with less paint while taking less time.
Smaller nozzle airbrushes are typically used for fine details while using thinner, less-opaque paint mixes.
Automotive Airbrush Paint
The main obstacle to airbrushing metal is to get the paint to stick onto the surface.
Automotive airbrush paint is specifically made to bind to hard surfaces. Therefore, most automotive paint works well for painting metal of all types.
One of the best automotive airbrush paints out there is the Createx Colors line.
Createx has a rich history in the automotive paint and airbrush industry since 1978. While there are other fabulous automotive paints out on the market, such as House of Kolor we will focus on the Createx line for simplicity’s sake. However, I encourage you to check out other paint lines like House of Kolor to see your options.
Createx has several different options for automotive airbrush paint. Below are a list and a description of each of them:
| Createx Paints | Spray Pattern | Description |
| Createx Airbrush Colors | medium, wide, extra-wide | Acrylic-based colors with opaque, transparent, fluorescent, and pearlized options |
| Wicked Colors | fine, medium, wide, extra-wide | Arcylic-based color line with specialized performance for fine to extra-wide spray pattern applications |
| Scenix Mural Theme Paint | Extra-wide | Durable, water-based acrylic-aliphatic urethane resins that have excellent adhesion direct to most substrates. Ideal for long-term exposure in outdoor conditions |
| Createx Illustration Colors | extreme detail, fine,medium, wide | Premium water-based colors designed for refined atomization and flow through the smallest of airbrush tip sizes, at low psi settings |
| Candy2o | extreme detail, fine, medium, wide, extra-wide | Aniline dyes intended to be mixed with various mediums to create transparent, vibrant colors |
How to Mix Airbrush Paint for Metal
To get the best adhesion and flow for airbrushing on metal, you’ll want to set-up a perfect paint mix. This concoction will typically consist of 3 components:
- Airbrush paint
- Urethane resin
- Reducer
The airbrush paint provides the color, the resin adds adhesion and color saturation, and the reducer makes it flow.
How much of each component you add to the mix will vary based on these main factors:
- The vibrance of the paint
- The binding properties of your substrate
- The size of your airbrush nozzle
The vibrance of the colors refers to how strong it will show up on the substrate. Strong colors need less additive because they already have properties that will show well on the substrate.
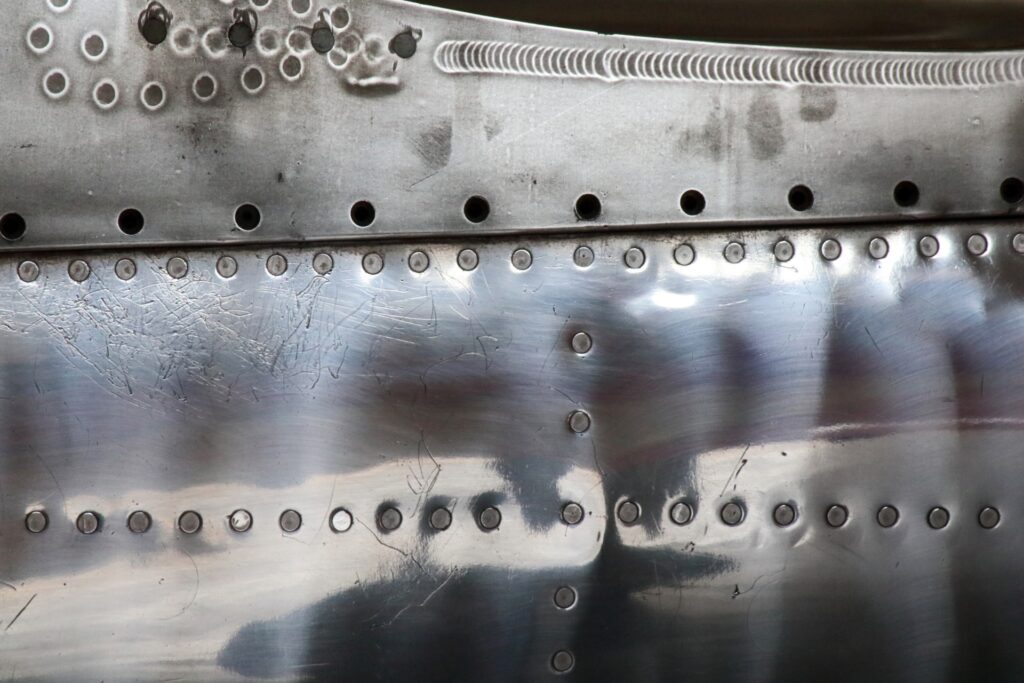
How you mix your paint will also depend on the substrate. Metals that are very smooth (like aluminum) will require more resin in the mix to bind properly.
The size of your airbrush nozzle will influence the consistency of your mix. This is simply because a thick mix will plug up a small nozzle and frustrate you to no end. The reducer helps combat this by making the mix thinner and more flowy out of the nozzle.
The mix proportions will depend on the type of products you’re using so don’t assume it will be the same for every brand. The truth is that mixing airbrush paint for metal is as much an art as it is a science – once you know the theory, you can break the rules and play around with the proportions.
NOTE: Some airbrush paints for metal are already mixed with urethane resin and ready to go.
A perfect example of premixed paint is Createx Wicked Opaque Colors which have an acrylic-urethane resin base. This color line is made for thick coverage with great binding properties which makes it great for laying down an opaque layer without using excessive paint.
Mixing Automotive Airbrush Paint
Assuming you aren’t using premixed airbrush paint, you’ll have to make a mixture of paint, resin, and reducer.
The key to good airbrush paint mixes is to:
1. Stick to the same brand of paint additives
2. Follow the TDS (technical data sheets) for the correct proportions
Each brand will have slightly different ratios so don’t assume that one will be the same as the next.
The following steps is an example of how to mix Createx Colors Automotive Paints (also known as “hard-surface” or “metal” paints):
Step 1: Pour airbrush paint into a mixing cup
Only mix as much as you will need for your project. Once mixed with resin, Createx airbrush paint has a pot-life of about a week. After that it will start thickening and become impossible to use in your airbrush.
Step 2: Add 4011 Reducer
Pour in the reducer and mix for about a minute using a popsicle stick. Createx recommends using about a 10% reducer to paint ratio. This is just enough to thin the paint and give it a good consistency for flowing out of the airbrush.
Step 3: Add 4050 UVLS Gloss Clear resin
Pour in the resin and aim for a ratio of 10% – 25% of the mix. Use less resin for smaller nozzle airbrushes and more resin for larger nozzles.
That’s pretty much all there is to it. Once your paint is mixed well, you’re ready to airbrush on metal!
How to Airbrush on Metal
What you’ll need
- Your chosen metal substrate
- Scotch Bright Pads
- Automotive Degreaser
- Lint Free Towel
- Autoborne Sealer
- Createx 4011 Reducer
- Createx 4050 UVLS Gloss Clear Resin
Step-by-Step
Step 1: Scuff the surface of the metal
Take your scotch bright pad and scuff the surface with medium pressure. This is just to help with the adhesion properties of your sealer. Most sealers already have good adhesion even on smooth surfaces but you can make it even better by roughing up the surface of your substrate.
Step 2: Clean the surface with water-based precleaner
Simply spray the degreaser onto the substrate in a nice even layer. Use your “lint-free” towel to wipe the substrate dry.
Step 3: Apply 2 even coats of AutoBourne Sealer to the substrate
Reduce your Autobourne Sealer with about 10% 4011 Reducer. As with the airbrush paints, you can play around with the reducer ratio depending on the tip size – a smaller nozzle means slightly more reducer is needed while a larger nozzle could mean slightly less.
Load up your airbrush and apply the first coat of sealer to the substrate. Wait 10 minutes for it to dry before applying the 2nd coat. Wait another 10 minutes for the 2nd coat to dry before moving on to the next step.
Step 4: Mix your airbrush paint
Mix in your 4011 Reducer (10%) and 4050 urethane resin (10% – 20%) at the correct proportions. Mix well for about a minute. See the above section for in-depth instructions on how to mix automotive airbrush paint properly.
Step 5: Apply the paint to the substrate
Load up your airbrush hopper with the mixed paint and lay down your masterpiece! If you’re laying down a base coat, a second or third layer may be needed to achieve the color saturation that you want. Let the paint dry for about 10 minutes in-between layers.
Step 6: Apply a top coat using the UVLS 4050 Gloss Clear Resin
Simply load the UVLS 4050 into your airbrush with 10% 4011 reducer and apply a top coat for added durability and longevity. 3 layers of top coat is ideal for the best coverage. Again, wait for about 10 minutes between coats for the best results.
You can use a medium nozzle airbrush like the Iwata Eclipse HP-CS for large coverage applications like this – just turn up the air pressure on your compressor.
If you will be doing lots of wide coverage fills and top coats, I would recommend using a larger-nozzle fan-pattern airbrush like the Iwata LPH80. It will save you a lot of time and headache in the long run.
With proper surface preparation, paint mixing, and a protective top coat, airbrushing on metal is quite easy and straight-forward.
Because hard surfaces like metal have less than ideal adhesion properties, the airbrushing process has to be followed with accuracy. Skip a step, and you can expect your artwork to fall apart quickly.
Follow the steps laid out in this article and you can have confidence that your airbrush project will come out looking professional and seamless for years to come.