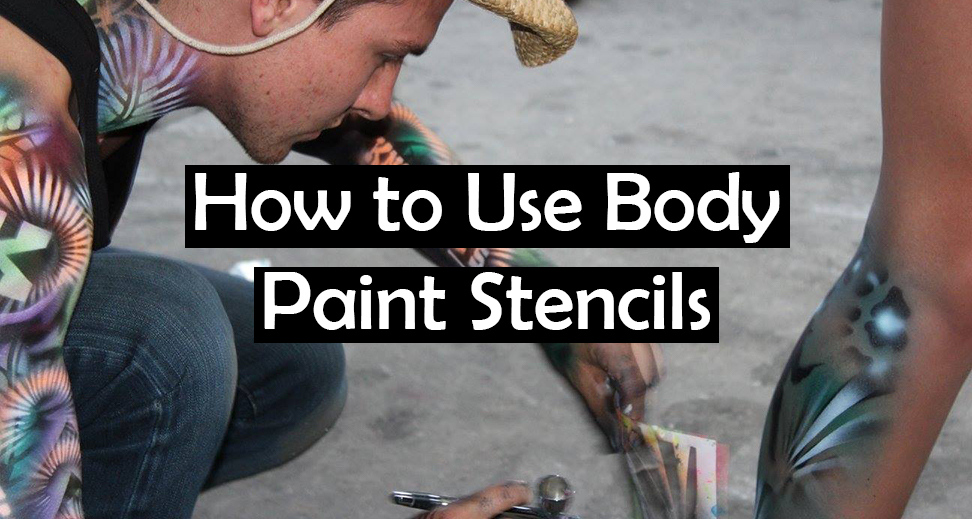
Body paint stencils are amazing tools for taking your body art to the next level. But if used improperly, your body paint masterpiece could turn out looking like a rough day at the paintball course.
To stencil your way to body-paint mastery, and minimize the risk of embarrassment, this article will go through how to use body paint stencils for stellar results.
If you’re looking for the quick and dirty of it, here’s the main thing you need to do to use body paint stencils properly:
The best way to use body paint stencils is by holding them close to the skin and using an airbrush to spray through the outline of the design. You can use various application methods such as sponging or brushing, but the airbrush method gives the best paint coverage and control.
This article will cover how to use body paint stencils for all application methods. But if you want the best results, I recommend using an airbrush for body painting.
By using an airbrush, a world of layering and complex designs opens up to you and you can experience the world of body paint stencils in its entirety.
Useful Links:
- If you’re new to the concept of airbrush body painting, checkout this article about how to start airbrush body painting for cheap and easy.
- Check out this article for a run down on how to get your hands on airbrush body paint stencils.
- For making body paint stencils, checkout this article on how to cut stencils with a vinyl cutter.
- This article talks about what makes the best material for airbrush stencils.
Let’s jump into how to use stencils for body painting!
Why Body Paint Stencils?

In the vast art of body painting, stenciling is a little known cheat code. While other methods demand impeccable line control, stencil art ensures that the lines hit the mark on every pass.
The pre-making of lines in body painting helps speed up the process – an essential when dealing with a living-breathing canvas.
You can’t have your model sitting/standing there indefinitely. Therefore, it’s up to the artist to move things along and express their artistic vision before the cows come home.
Stenciling is a great way to speed things up.
But is stenciling cheating? Wouldn’t the “authentic” artist just learn how to freehand efficiently?
I suggest that stenciling is not cheating in body painting for three reasons:
- Choosing and creating stencils is an art in itself
- Stencils can be used in a myriad of creative ways besides simply holding in one place
- Stencil work mixes in with freehand work quite seamlessly
At the very least, a good body paint artist should know how to use stencils should they ever need them. Mix it in tastefully with freehand work and you shouldn’t be able to tell the difference.
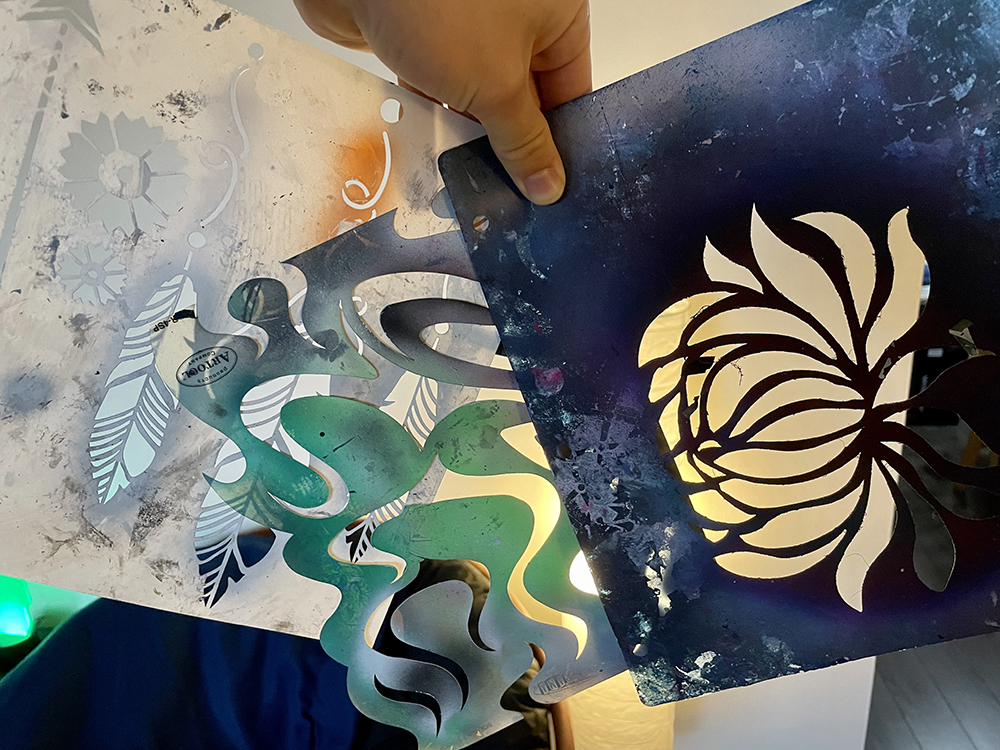
How to keep body paint stencil from moving
You can keep a body paint stencil from moving in two ways:
- Carefully hold the stencil close to the skin
- Use adhesive stencils to stick-on temporarily
The first method of holding the stencil close to the skin involves carefully holding the stencil with one hand while you airbrush spray (or apply paint using another method) with the other hand.
Be sure to hold the stencil still while you’re spraying. If the stencil moves at all mid-stream, the design will come out with a weird drop shadow effect which makes your artwork look amateur.
Holding the stencil in place is best achieved by placing it flat on the skin and using your pinky finger to mitigate hand-shake.
Don’t worry if the stencil is not completely flat, it rarely is unless you’re painting a big flat area such as the back or belly.
If you want the stencil to be flush to the skin, use an adhesive stencil to hold it temporarily in place. The adhesive method has the benefit of forming a strong outline around the entirety of the stencil. The downside is that it is stuck in one spot and you can not use layering for creative effect.
Whichever method you choose, it’s important to keep your stencil still while you apply paint.
How to keep paint from bleeding under stencils
One of the most frustrating things that can happen when you use stencils for body painting is “bleeding” under the edges of the stencil.
Bleeding happens when paint runs, sprays, or otherwise gets onto the area of the skin that the stencil was supposed to mask.
Here are the main ways to avoid stencil bleeding:
- Don’t use too much paint
- Keep the stencil flush to the skin
- Spray close to the skin (for airbrushing)
- Wipe your stencils regularly
More paint does not always mean better coverage. There is a point of diminishing returns where more paint will start getting places that it’s not supposed to get.
Turn down the air pressure on your airbrush compressor, be conservative with your coverage, and gradually build up your layers. You should lay down just enough paint for thorough coverage but no more.
When you keep the stencil flush to the skin, there is less of a gap for paint to find its way into. Adhesive stencils are the best for this because they are inherently flush to the skin at all times. This allows you to carefully layer the paint without worrying about positioning.
For non-adhesive stencils, your technique is imperative to avoid bleeding. Use the holding technique described in the last section to ensure that the stencil is as flush to the skin as possible.
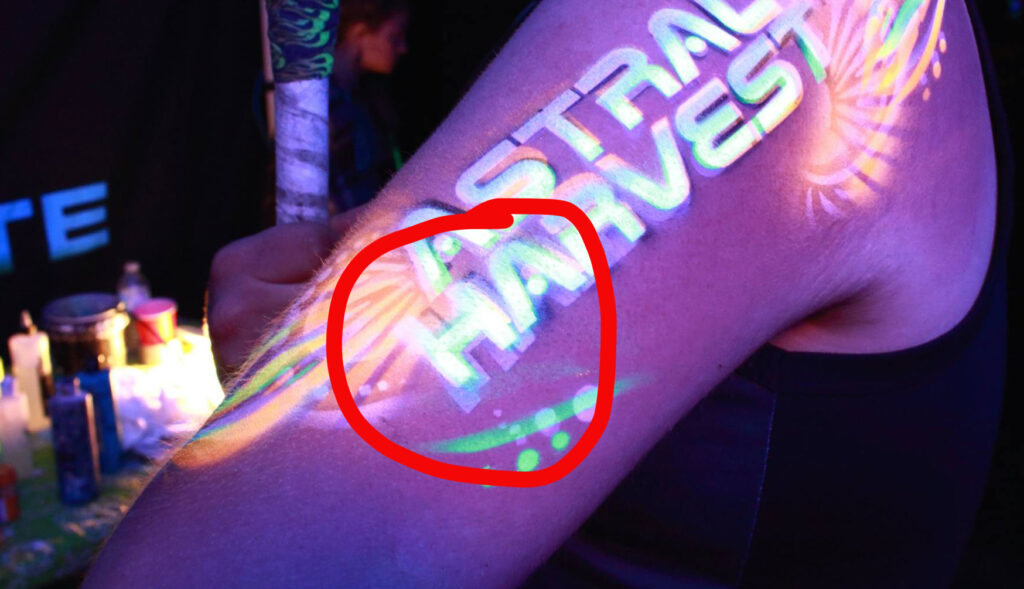
If you’re using an airbrush for a body paint setup then another important consideration is the distance which you are spraying away from the skin. Generally speaking, you want to position your airbrush closer rather than further from the skin.
This is because the further away you spray, the higher the air pressure you will need to get consistent coverage and the more chance of overspray and stencil bleed you will get.
This other article outlines what overspray is and how to avoid it.
To avoid messy overspray and stencil bleeding, position your airbrush between 2 & 3 inches away from the skin. Any further and your stencils will start looking sloppy.
Body paint stencils vs. face paint stencils
One of the challenging aspects of body art stencilling is getting the size and proportions down. One size does not always fit all because people’s body’s differ in size and shape.
Size and shape are the main things to consider when differentiating between face paint and body paint stencils.
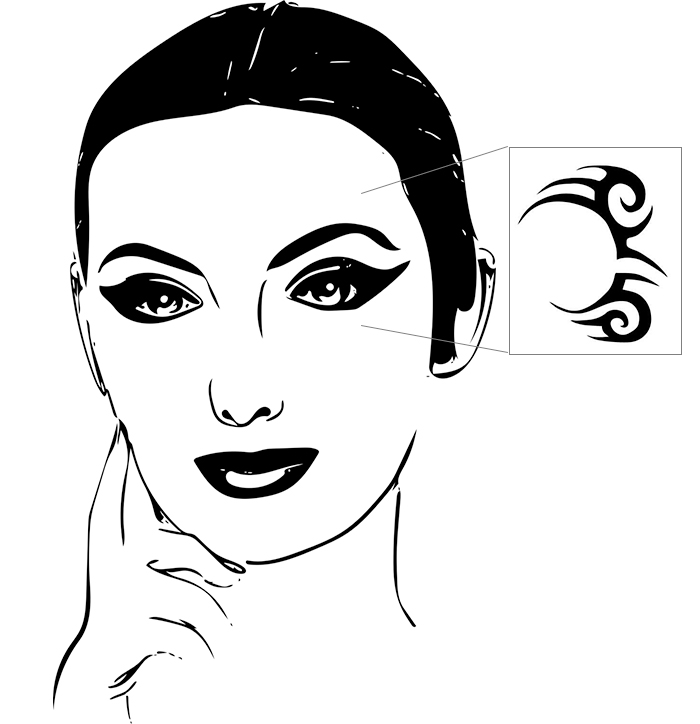
For face paint stencils, you’ll want both adult and children’s sizes. Rounded designs that can be positioned around the eyes and edge of the face work well. Also consider the size of the designs within the stencil – generally speaking, small-intricate designs look better on the face than large-sweeping patterns better suited to large areas.
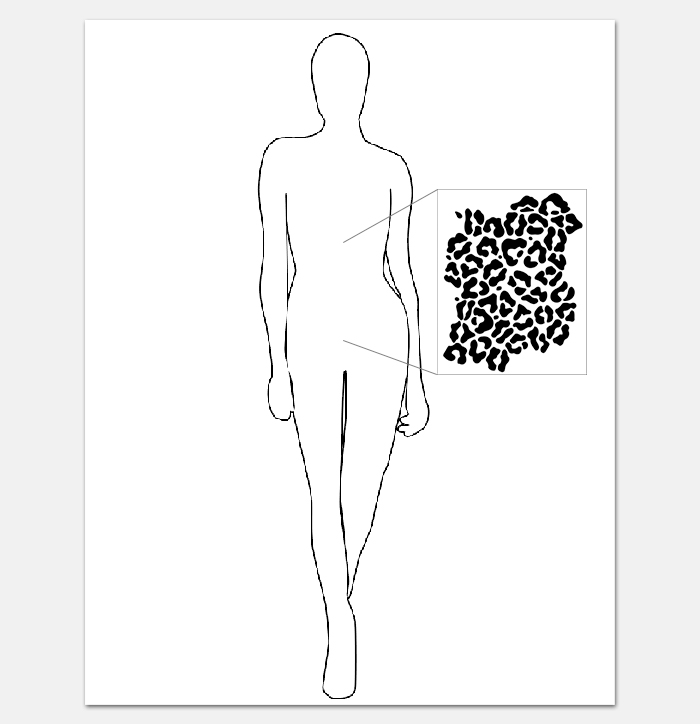
For body paint stencils, size is more your friend. Over my years of body painting, I have always found myself creating larger and larger stencils. This is because there is so much skin to cover and large stencils help with covering it.
In another article about easy body painting ideas, I mentioned how the “wrap-around” effect is pure magic. The more you can creatively wrap your artwork around the contours of your model’s body, the better it will turn out.
Large stencils help with wrapping around the body.
I like to divide my stencils into different body parts – face, arms, legs, back, and chest.
The largest stencils will be for the chest and back. The next largest will be for the legs and arms and the smallest stencils are typically reserved for the face.
| Stencil Sizes for Different Body Parts | |||
|---|---|---|---|
| Small | Medium | Large | |
| Face | X | ||
| Arms | X | X | |
| Legs | X | X | |
| Chest | X | X | |
| Back | X |
How to make stencils for body paint
There are essentially 3 ways to get your hands on stencils for body paint:
- Buy them
- Design them yourself and cut them out by hand
- Take digital design files and cut them up using a stencil cutter
This article about building a stencil collection outlines how to do all 3 of these stencil accumulation methods.
If you intend to use lots of different stencils in your body painting, I highly recommend getting a stencil cutter.


Want to cut a stencil of a design you saw online? No problem, the stencil cutter will outline it and cut it out.
A stencil is 0.5 inches too wide? Also no problem, simply reduce the scale on the computer and cut out another stencil.
A good stencil cutter will save you a butt load of time and money in the long run and will give you maximum creative control over your artwork.
For more info, check out this article about the best home stencil cutters on the market.
Both reusable and adhesive stencils work well for body painting but they tend to have different application styles.
If you’re looking to do small temporary tattoo style body art, get adhesive stencils.
If you want to do complex layering and mix in your stencil work with freehand body painting, reusable stencils are the way to go.
For more info, checkout this article about the best material for both adhesive and reusable stencils.
Using stencils for body painting is like anything else, it takes practice to get good. But by using some of the tips outlined in this article, you will cut years off of your learning curve.
Get yourself the right sized stencils, hold them close to the skin, and use proper technique to prevent bleeding and overspray. Add in some creativity and practice and you’ll be body painting like a pro in no time.


WHAT KIND OF SPRAY ADHESIVE CAN I USE ON A STENCIL TO ALLOW “HANDS FREE” APPLICATION. LIKE WHEN YOU DO A MULTI-COLOR AIRBRUSH TATTOO?
Hi thanks for the question! For “hands-free” application, you can use a non-toxic spray adhesive to stick the stencil onto the skin. Just spray some on the back of the stencil and press it onto the skin. It should hold long enough to do the airbrush tattoo and then it’s easy to remove when you’re done. Elmer’s makes a good non-toxic spray adhesive: https://amzn.to/3u3cKuQ