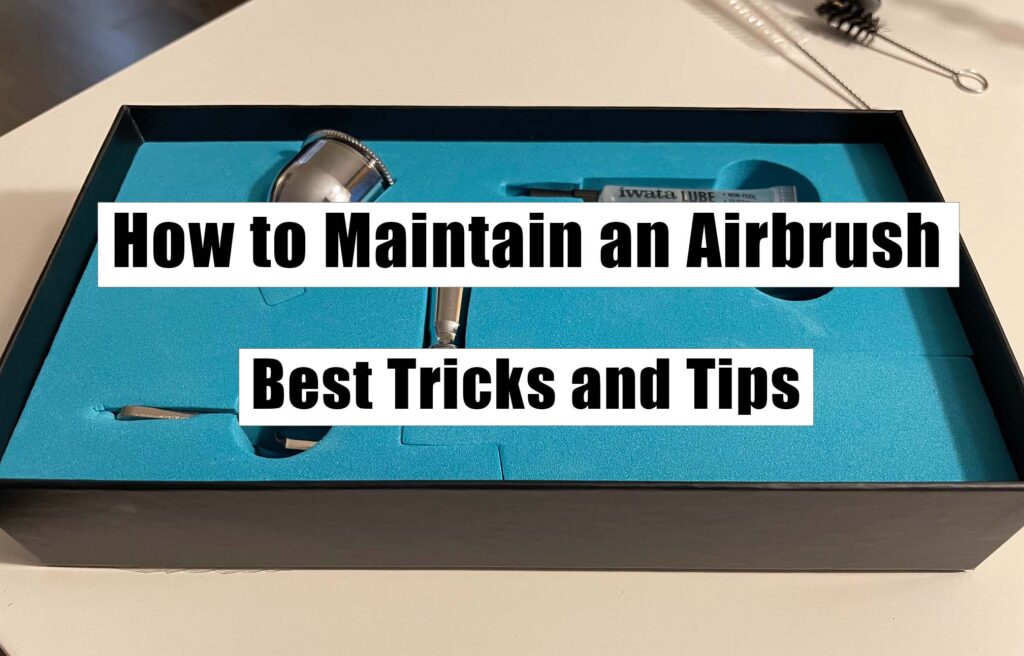
Maintaining your airbrush is one of the best things you can do to consistently make stunning airbrush art. When it comes to maintenance, a proactive approach is always better. Did you know that preventative maintenance costs 30% less on average than reactive maintenance?
If you stay on top of your airbrush cleaning and treat your airbrush with grace, maintaining that silky smooth action will be no problem and your artwork will show it.
Treat your airbrush like a forgotten stepchild, and you’ll be paying for it in the long run.
One of the worst things you can do is leave gobs of sticky paint in your airbrush to sit there and get crusty. For god sakes, clean it out!
As a general rule, you should clean your airbrush after every use. The best way to maintain your airbrush long-term is to keep the components clean, dry and lubricated.
Over my years of airbrushing, I’ve found that following some simple guidelines for airbrush maintenance has kept my airbrushes working seamlessly for a long time. This article goes over the best ways to maintain your airbrush.
Deep Clean your Airbrush Regularly
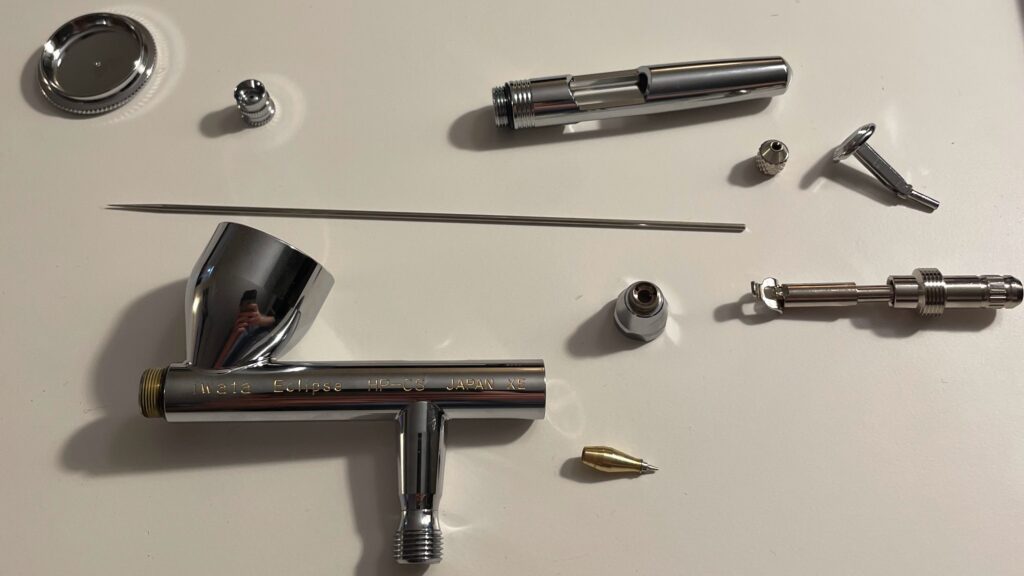
There’s a difference between the clean that you do between colors and a deep clean. A deep clean involves taking your airbrush apart, and cleaning out the critical components.
Get this airbrush cleaning kit or something like it to clean your airbrush properly. The various sizes of brushes will save you lots of time and frustration.

Use Medea Airbrush Cleaner for your deep cleans – It’s the best airbrush cleaner that I’ve found for dissolving dry paint and getting a deep clean over the years.
Here’s the step-by-step process to get a nice deep clean and maintain your airbrush:
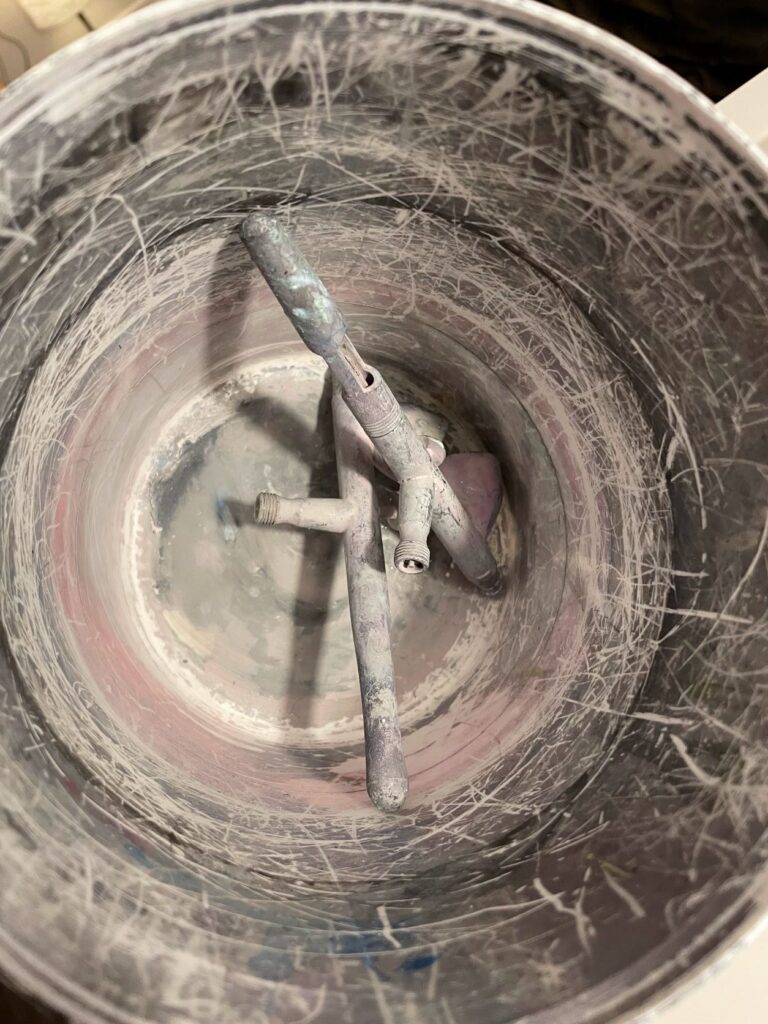
Step 1: Take apart your airbrush. Make sure the components are safely gathered and you take a mental note of how it goes back together – airbrushes have some small parts that are easy to lose.
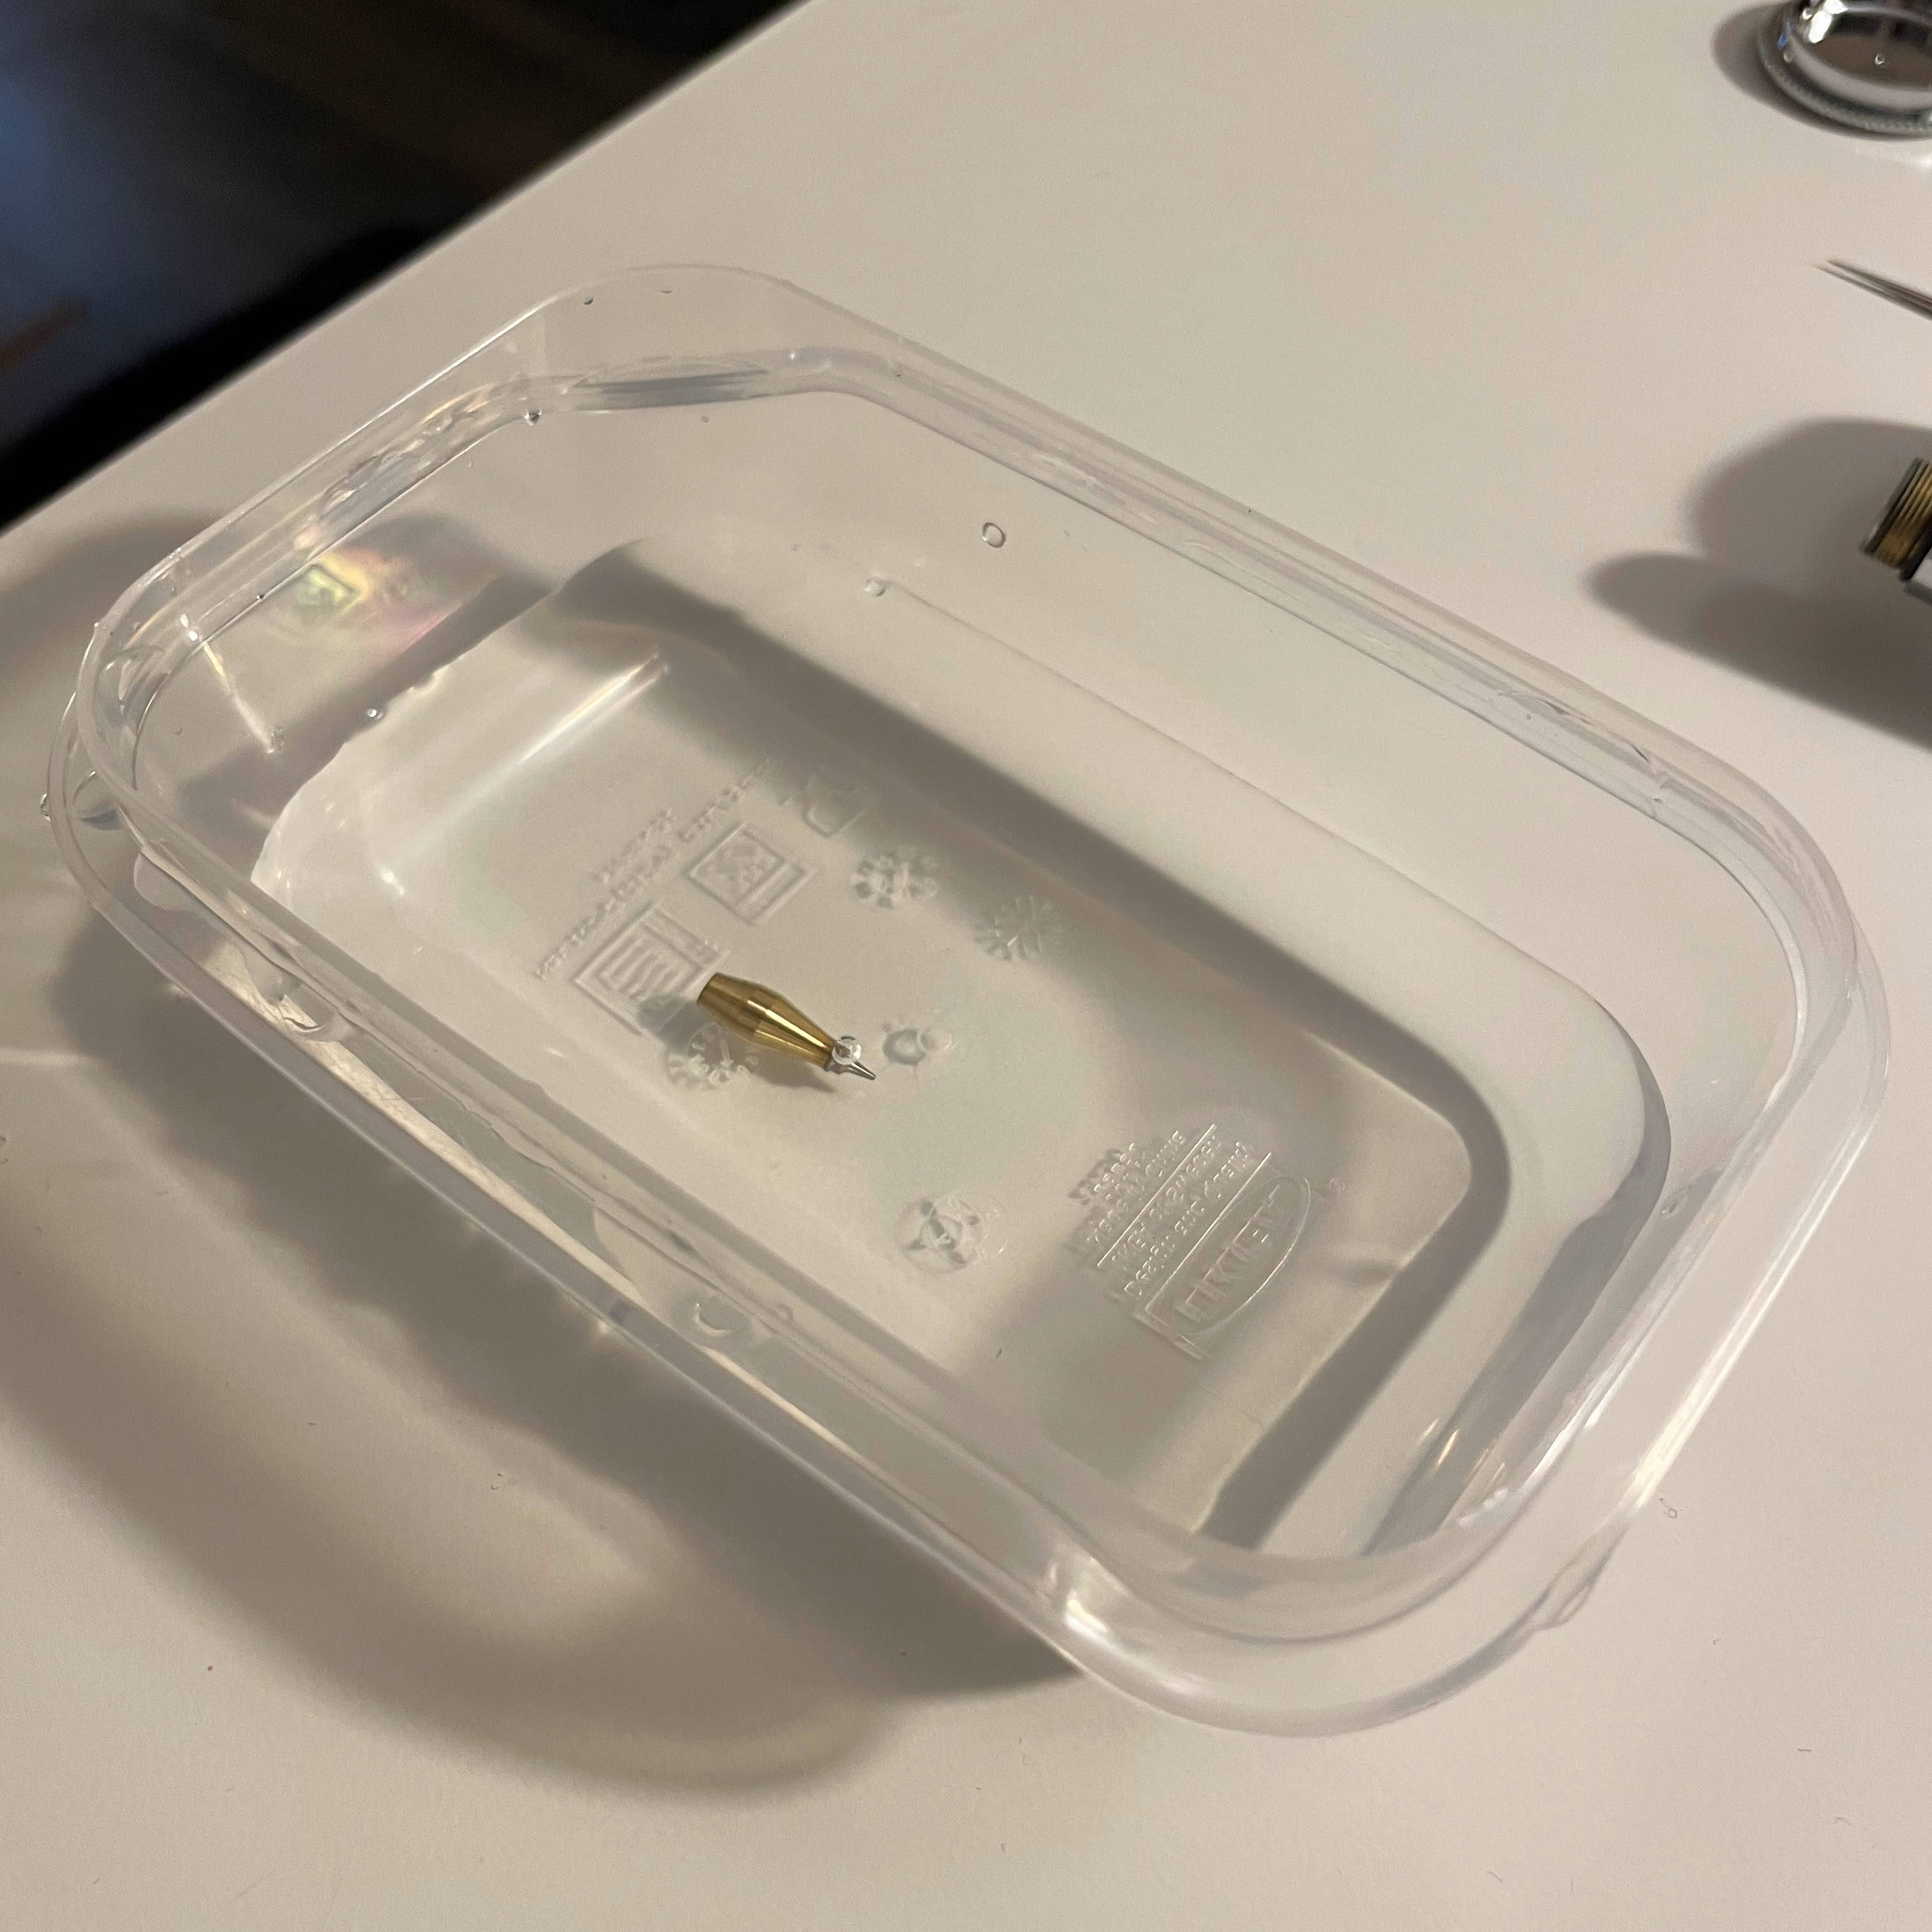
Step 2: Soak your airbrush nozzle in some airbrush cleaner. Put some airbrush cleaner in a small container and let the nozzle soak for about 10 minutes while you clean the rest of your airbrush.
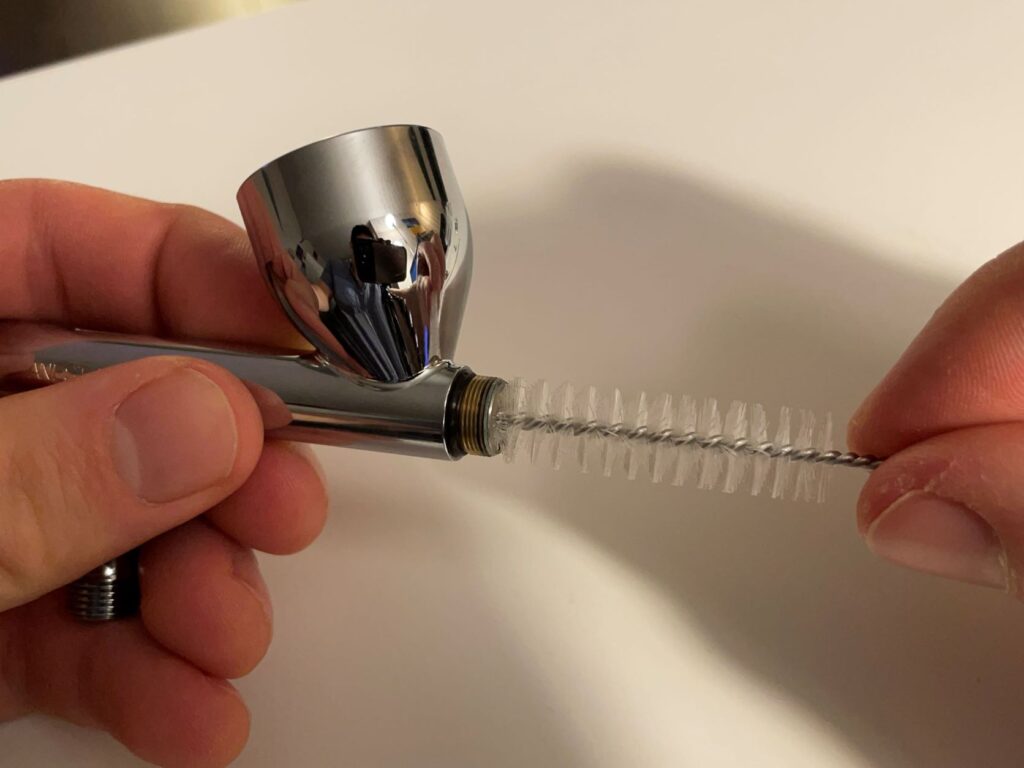
Step 3: Use cleaning brushes to clean out the cup from both sides. Apply some airbrush cleaner to your cup and use a brush to gently scrub any dried paint from the inside of the cup and the front opening where the nozzle sits.
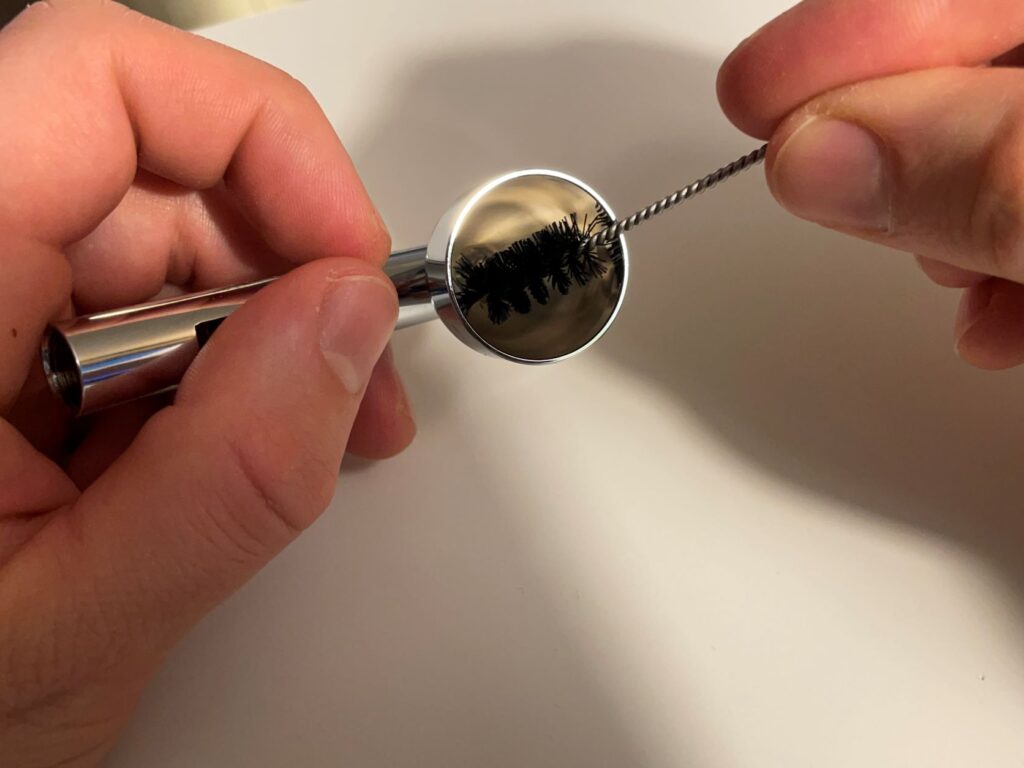
Step 4: Clean the nozzle. Take your nozzle out of the solution it was sitting in and use the needle to gently push any dried paint out the end. be very careful not to use excessive force and “deform” the nozzle tip – once the opening gets blown out, it is pretty much wrecked and you will need to replace it.
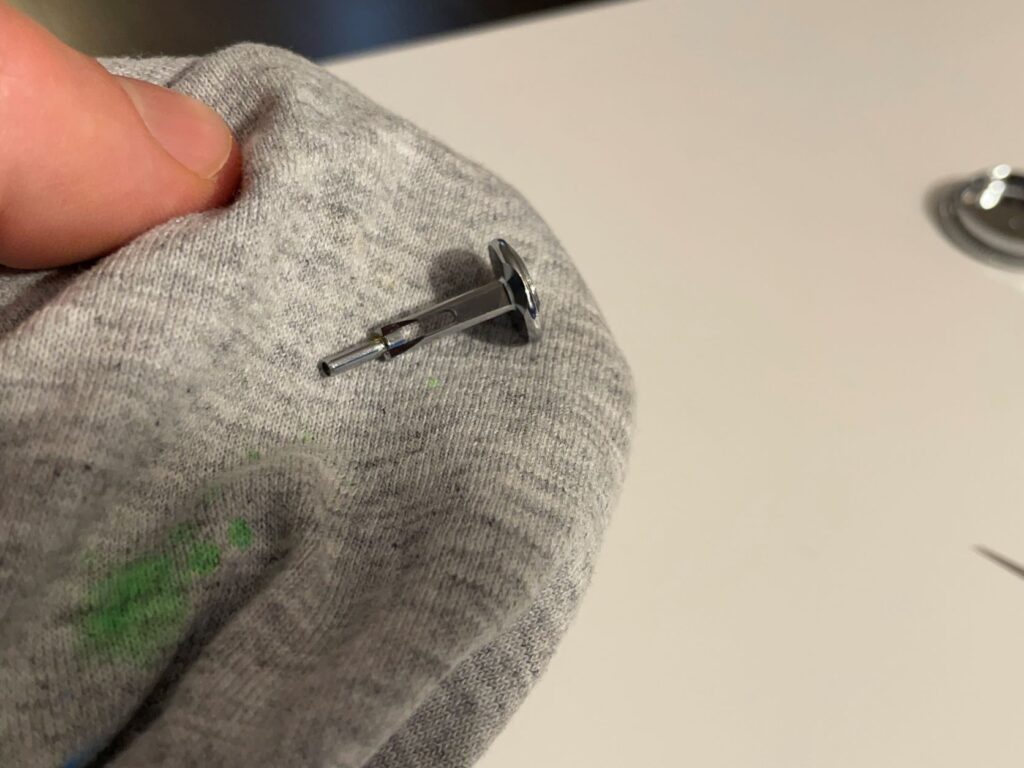
Step 5: Clean the base of the trigger. Use some airbrush cleaner, the cleaning brushes, and a rag to make sure there is no paint on the base and it’s nice and clean.
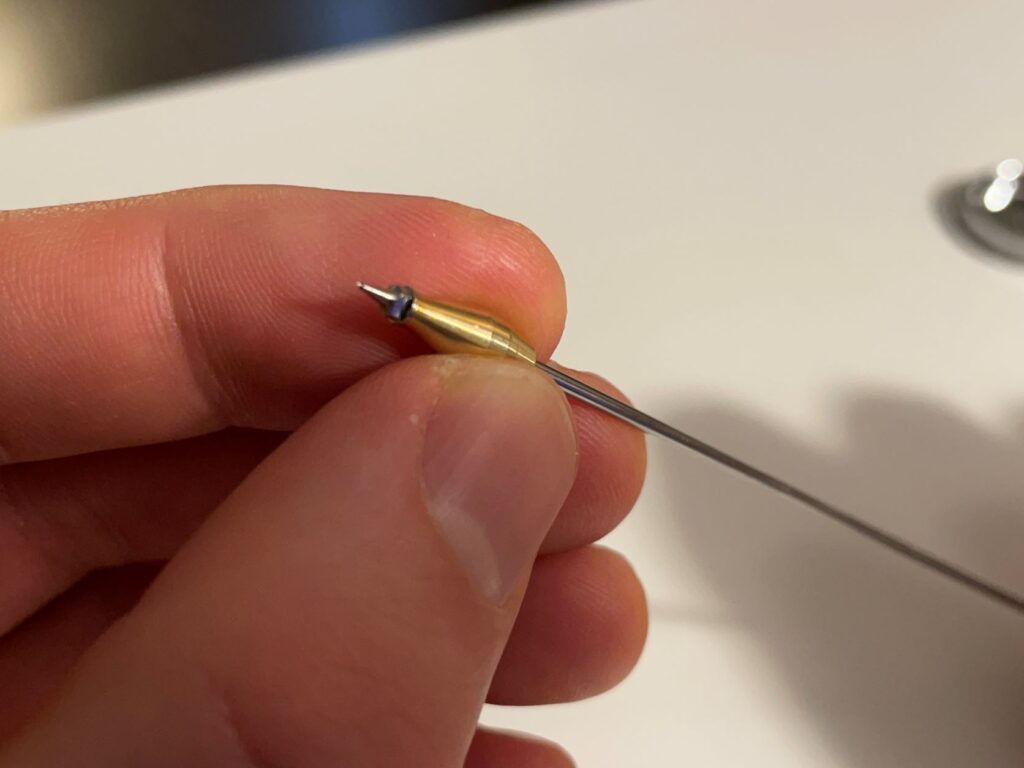
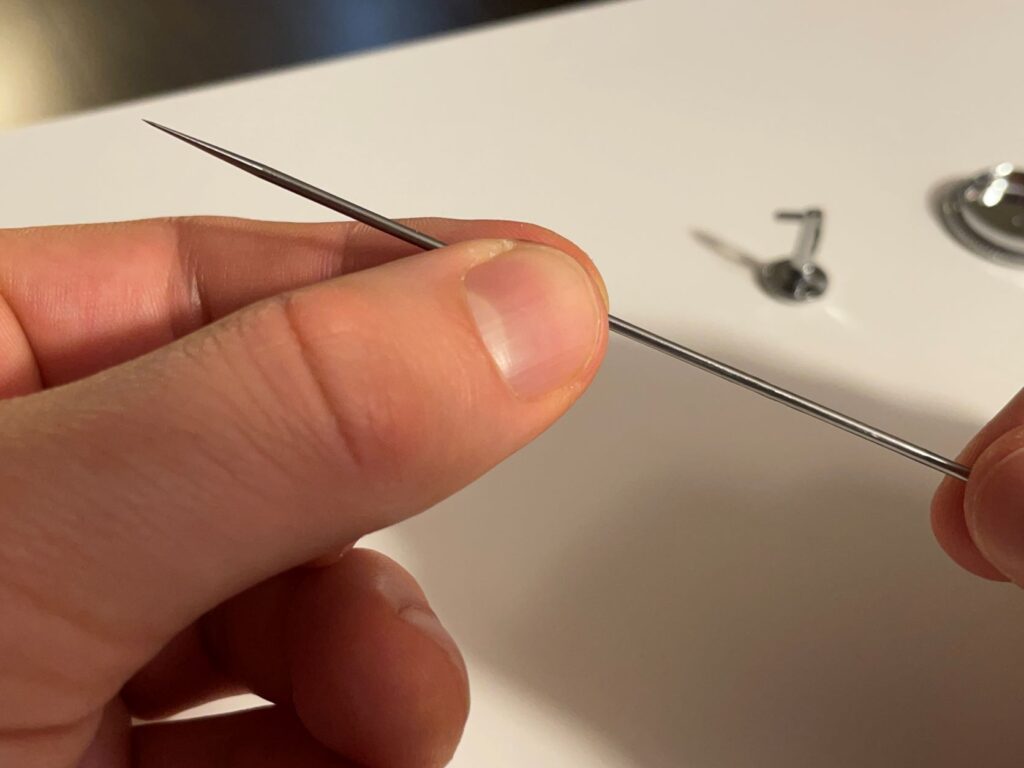
Step 6: Wipe the needle. Use a rag with airbrush cleaner to wipe excess paint off of the needle.
If you keep the above components clean, you won’t have to take it apart so often to clean it.
Lubricate Your Airbrush Regularly
After you’ve given your airbrush a deep clean, make sure to lubricate it thoroughly before putting it back together.
Lubrication helps keep the moving airbrush components sliding nicely against each other. Unnecessary friction will make the handling of the airbrush suffer and make it wear out much faster.
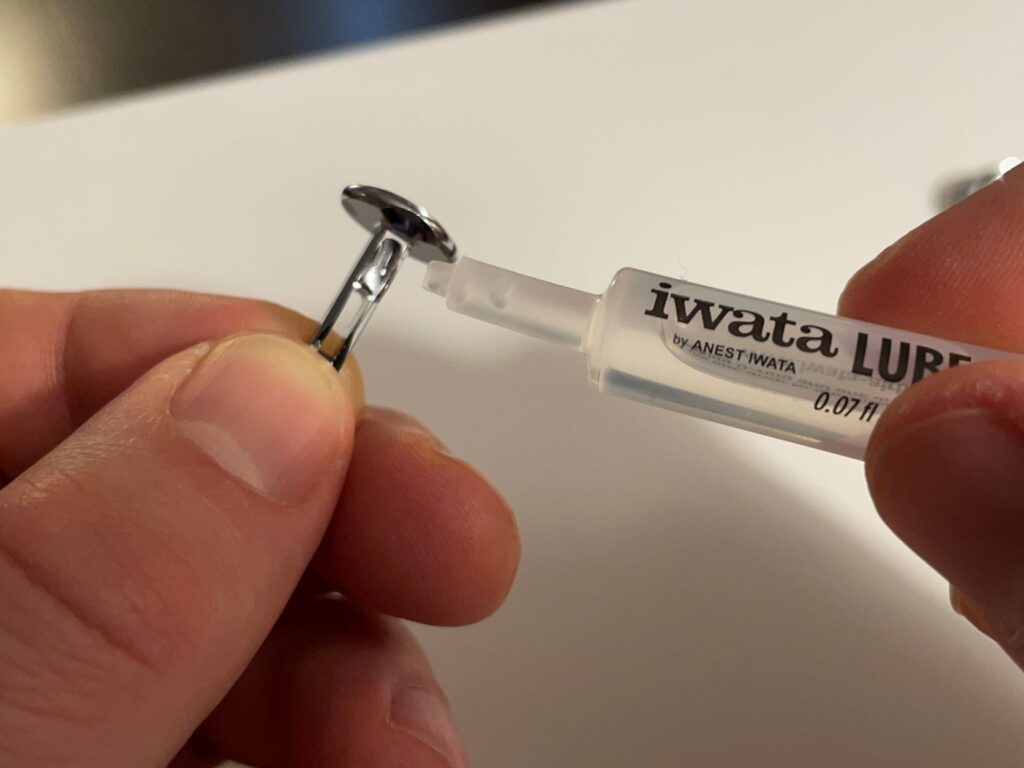
Use this Iwata Airbrush Lube to get a buttery-smooth trigger action on your airbrush.

The three main components you should keep lubricated are the trigger and the needle, and the nozzle holder.
The trigger should be lubricated all around the base where it inserts into the airbrush as well as on the side that contacts the wing lever. The repeated action of the trigger being pulled back makes this location the most prone to wear and tear from friction.
So don’t be shy when applying the lube to the trigger!
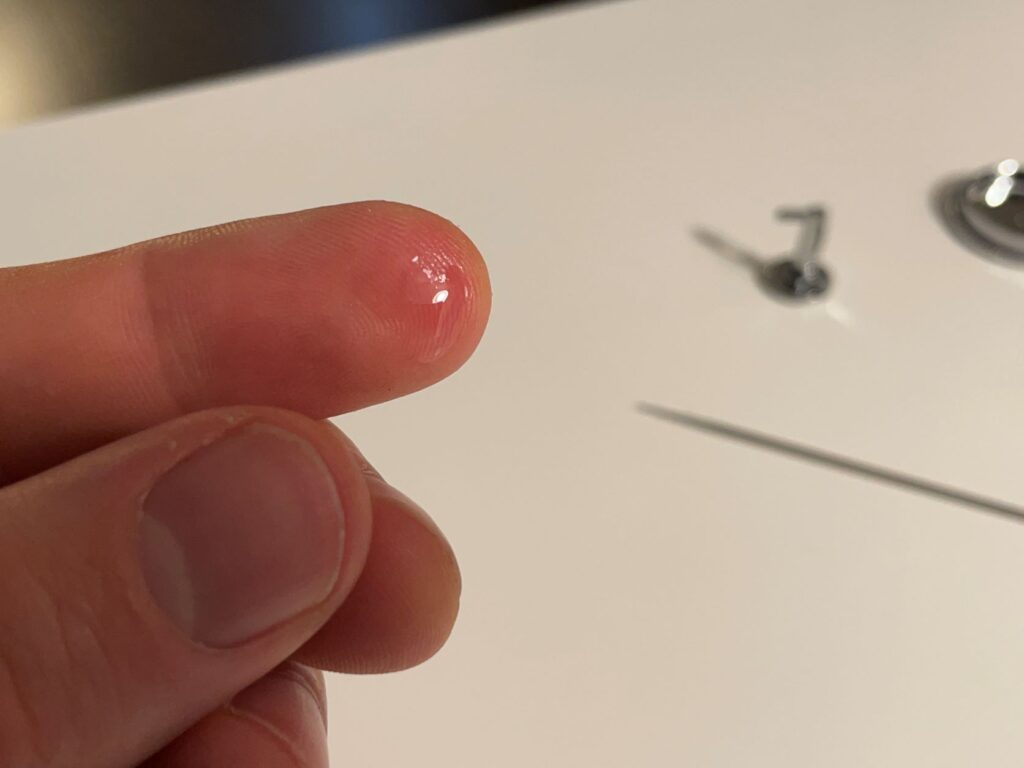
To lubricate the needle, put a little bit of lube on your thumb and index finger and pull the needle between them. Rotate as you pull to make sure the entire needle is slightly lubricated. This will ensure that it graces the metal which slides against with silky smooth goodness.
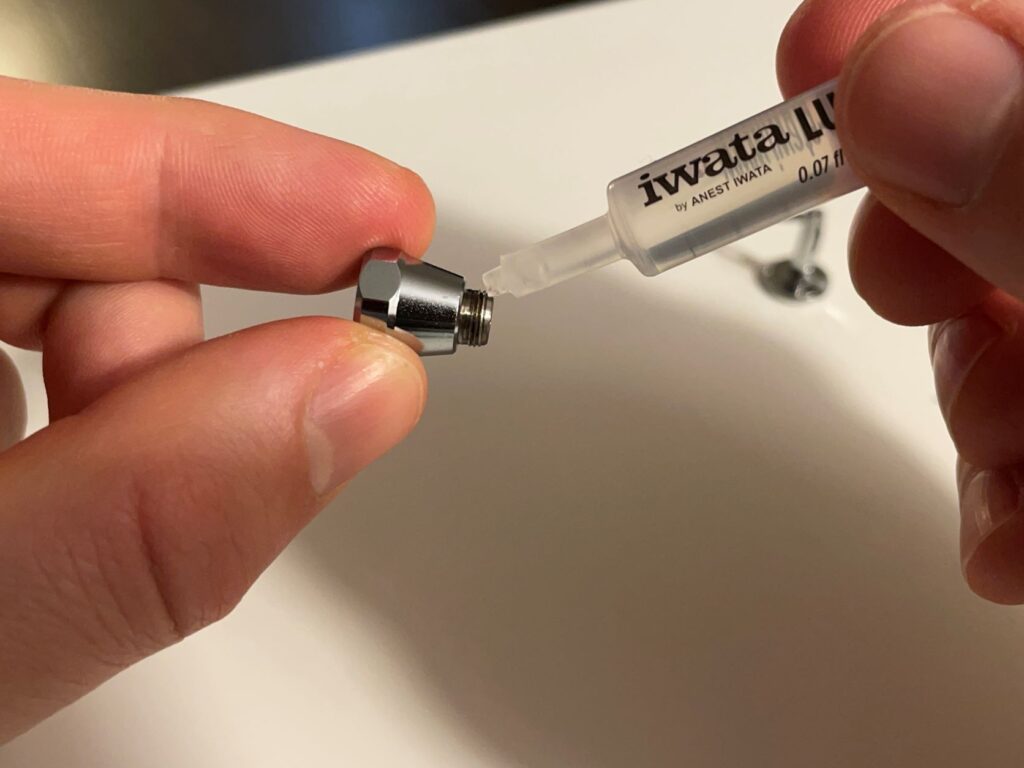
The nozzle holder is the part of the airbrush that connects to the nozzle cap. A little bit of lubricant on the threads will help seal the connection and make sure no air leaks out. Even a small air leak will affect the air stream of the airbrush, lead to nozzle clogging and all kinds of other bad things.
Once you have your airbrush nice and lubricated, put it back together using finger tightness – do not overtighten!
Handle Your Airbrush With Care

Your airbrush is your tool. It is your best friend when making art. You do not want to treat your friend poorly or else it will treat you poorly in return.
The most fragile parts of the airbrush are the nozzle and the needle tip. Therefore, you should guard these parts with your life.
When the nozzle is damaged, it will let air out before you pull back the trigger. This will cause the paint stream to activate irregularly and make it impossible to paint dagger strokes properly.
Imagine your frustration when you’re halfway through a masterpiece airbrush project, the nozzle craps out, and an ugly line appears somewhere it’s not supposed to.
To protect the nozzle, make sure that you don’t push the needle into it with excessive force. When setting the needle in the airbrush, push just enough to feel it make contact with the nozzle but NO MORE. The most common way to blow out a nozzle is to push the needle too hard into it.
The tip of the needle is another area that required much care and attention. Because the tip is so thin, it is very susceptible to being bent and creating a “burr”. Once a burr is formed, the paint will not atomize in a straight line and the paint stream will come out slightly sideways – not a great look when you’re trying to paint like a pro.
Protect the needle by always leaving it in the airbrush, keeping the nozzle cap on, and handling it with extreme caution when removing it for cleaning.
In addition to nozzle and needle care, it’s also a good idea to pamper your airbrush with regular cleaning, and dry storage.
What NOT to do With Your Airbrush
Now that you know how to maintain your airbrush, here are a few things not to do if you want the airbrush to last long.
Do Not Store Airbrush in a Bucket of Water
It can be tempting to store your airbrush wet so that it won’t have to clean the paint out after every session.
Don’t do it, this is a bad idea.
Prolonged exposure to moisture will break down the seals over time and build up a film of paint particles and water minerals. This film makes it hard to clean and lubricate and will eventually make the airbrush cease up and stop working.
Instead, store your airbrush in a clean, dry location where it won’t be banged around and dinged up – the container it came in can often be a great place for this.
Do Not Clean Airbrush with Household Cleaners
In another post about the best airbrush cleaners, I explained why cleaning with some random household cleaners is a bad idea.
Ammonia-containing cleaners such as Windex will especially break down the 0-rings on your airbrush and take the varnish off with time.
Airbrush-specific cleaners such as Medea Airbrush Cleaner are made to dissolve dried paint without being so strong as to harm the airbrush. So even if it’s tempting to grab something out of the cleaning closet in a pinch, think twice before dousing your airbrush in it.
Do Not Overtighten Airbrush Threads
When you’re putting your airbrush back together after a good deep clean, tighten everything to light finger pressure. This includes the nozzle cap, the spring screw, the needle nut, and the hose attachment.
Overtightening can easily lead to having to use pliers when trying to loosen again. When you use pliers to loosen the airbrush components, this risks bending and damaging the parts. The nozzle cap is very susceptible to this and when it gets damaged, you will be unable to thread it back onto the airbrush.
To avoid overtightening, always ere on the side of looseness and go from there.
If the needle nut is slipping, it’s easy to stop and tighten it up again. If the nozzle cap is leaking air, you can simply take a second the tighten it further.
On this point, consider the above section about handling your airbrush with care – there is no reason to reef on the nozzle cap when a light finger-tighten will do.
Maintaining your airbrush is not a long or arduous job. It is rather one of those things that gets overlooked and adds up over time.
To keep your airbrush squeaky clean, silky smooth, and working like the day you bought it, follow these maintenance steps after every project and your airbrush will stay good as new.