Body glitter adds a special sparkle to any outfit. But if the application is off, your majestic body glitter vision will come out looking like a kindergarten craft gone wrong.
As a body painter of many years, I’ve experimented with various body glitter applications to find a method that works. The method shared in this article has been field tested at many parties, music festivals, and events.
It’s always a sad sight to see people’s body glitter falling off before they even make it to the dance floor. So I wanted to pass along my method so that others like yourself can rock a stunning body glitter that lasts.
The key to pulling off amazing body glitter is to get it to stick and stick well.
To get body glitter to stick, use a clear, non-toxic, environmentally-friendly gel. Apply hair gel, aloe vera or hand sanitizer to the skin first with a brush. Then use the same brush to apply a layer of glitter on top.
Once you can get body glitter to stick well, you have opened up an amazing world of creative opportunity.
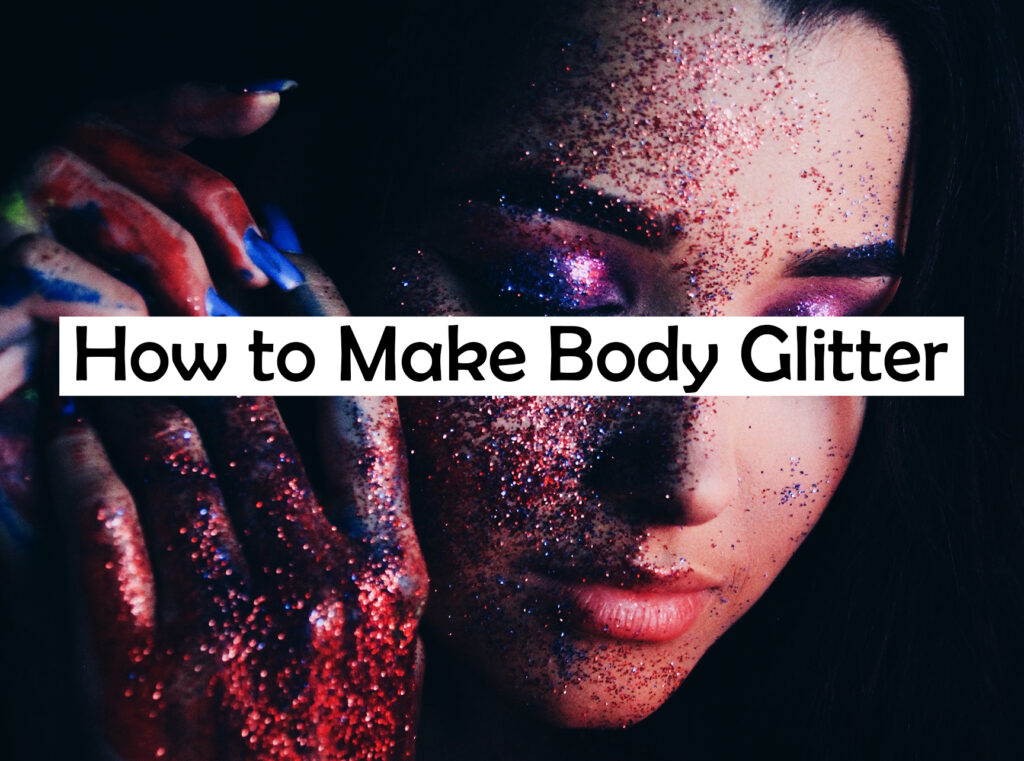
Why body glitter is so good for body art

Body glitter works with body art like peas work with carrots. This is because of the added dimension that great body glitter can add to a creative vision.
In the same way that black or white bodypaint can accent a feature, the body glitter can make a design pop with even more aggression.
This is because glitter shines in the light better than any paint or makeup ever can. A slightly misplaced line in a bodypainting design risks a sloppy image. But a poor glitter job can break the design altogether.
It’s because of this “make it or break it” reality that gives body glitter its power. It screams boldness and confidence. The body artist can use it as a tool to command the attention of onlookers with sheer brilliance.
Body glitter is also insanely fun. It makes you feel like a kid again. You can break the rules, get messy, and transform into the radiant otherworldly creature that you always knew you were.
The best glitter for body art
The main thing you want to look for in body glitter is varying sizes of glitter flakes. When you get an assortment of different sizes, your body glitter will have a majestic/dreamy look to it.
Single-sized glitter flakes just can’t achieve the same kind of effect – it looks flat and lacks dimension.
If you’re planning on mixing glitter with body paint, match your glitter color with your paint color. When you match up the colors, it gives your artwork a kind of theme that you can follow – even better if the outfit matches the same color scheme!
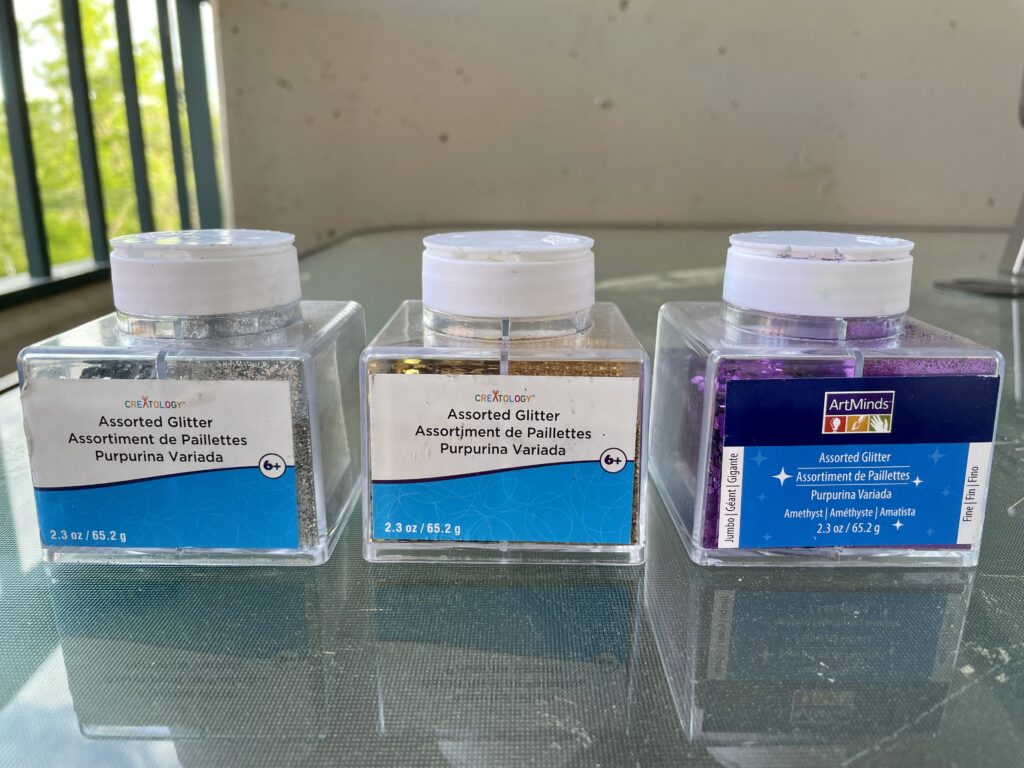
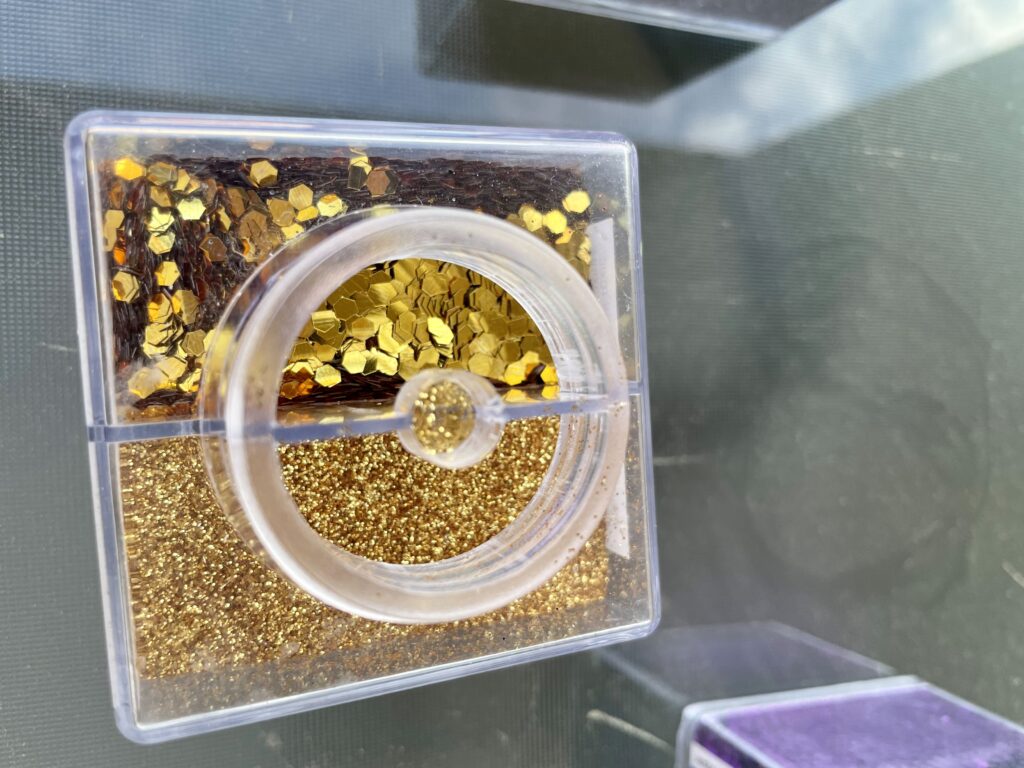
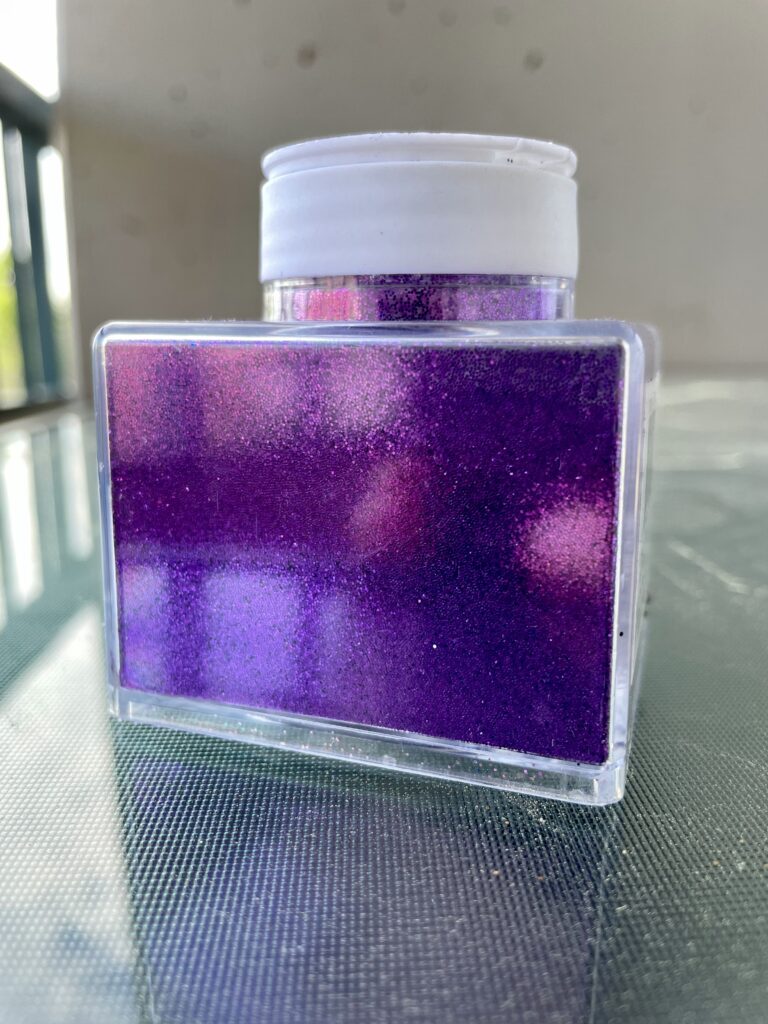
A “rainbow” glitter is also good to have on hand if you’re going for a color-neutral theme.
Rhinestones are also a great addition to body glitter. For really fancy glitter outfits (think glitter tits or mermaid face), your best bet is to get a premade set of rhinestones with all the needed shapes. I’ve tried to make my own rhinestone centerpieces by playing mix and match and it never turns out that great. My recommendation is to bite the bullet and buy the premade centerpiece, then you can dress it up with your own glitter.
How to apply loose glitter to the face and body

Poor glitter application to the face and body results in sloppy artwork, wasted glitter, and unwanted glitter flakes falling off into every nook and cranny imaginable.
Achieve the best results with careful gel and glitter application. With care and intention, you can make some truly stunning glitter body art that stays on and stands out.
What you’ll need:
- Application Brush
- Paint brushes of various sizes work great for lathering on the initial layer of application gel. For large areas, use a larger brush. For detail work, use a smaller brush.
- Application Gel
- Get a clear, non-toxic, environmentally-friendly gel to use as an application gel. Hair gel, aloe vera, or hand sanitizer all work great as an application gel. I personally like using hair gel because it smells good and sticks to the body great.
- Glitter
- Get a glitter that has varying sized glitter flakes. Different colors to match a color scheme or rainbow colored for color neutral themes.
Step-by-step instructions:
Step 1: Take your brush and dip it into your application gel. Brush the application gel into an even layer – “draw” whatever shape in which you want the glitter to stick. Care and attention during this step is what ensures the body glitter design will turn out. Don’t be afraid to really lather it on – the glitter needs enough gel to make a thick layer and stay in place.
Step 2: Brush the glitter onto the gel design that you already laid out on the skin. Take your goopy brush and stick it right into the glitter container. Try to paint within the lines but don’t worry too much about loose flakes getting here and there – without gel, they will fall off in the next step.
Step 3: Lightly blow the excess glitter off with a fan or an airbrush. All of the little flakes that landed outside the lines should fly away leaving a pristine glitter design.
Let dry for 10 – 15 minutes and you’re done!
How to remove body glitter
Body glitter can be kind of hard to remove. There always seems to be a couple of sparkles left here and there.
The main thing you want to remember is not to remove your body glitter somewhere that you don’t want glitter. For example, if you remove it in the living room, expect to see glitter flakes between the pillow cushions for years to come.
After an event, go inside and go straight to the shower. Clean thoroughly with soap and water.
When you jump out of the shower, there will still likely be some stubborn glitter flakes. Make sure you dry with a towel that is going straight to the wash. Wash it in a single load with the outfit you wore to the event.
The last few flakes will come off of the skin by applying a baby oil and using masking tape to “lift”.
Finally, I recommend vacuuming your washroom to remove any trace of glitter so it doesn’t get tracked all over the house.
Conclusion

If you use this battle test method to make body glitter, You should have lots of confidence to dance, move around, and have fun without fear of your body glitter coming off.
Use large flakes mixed with small flakes, generously apply the gel, and combine with rhinestones to add an eye-catching dimension to your masterpiece.

