Airbrushing and spray tanning are almost one and the same. Whether you’re using an airbrush or a spray tan machine, you’re making a stream of liquid that propels through the air onto a surface.
Therefore, it is a logical thing to wonder if you can simply use an airbrush for spray tanning.
You can absolutely apply spray tan solution with an airbrush. Airbrushes are typically made for precision spray applications while spray tan machines produce larger spray patterns. However, with the right technique and the proper settings, a double-action style airbrush can achieve an even layer and produce a smooth spray tan.
This article goes over the difference between an airbrush and a spray tan machine and how to use an airbrush to spray tan yourself at home.
If you’re brand new to the concept of spray tanning, check out this article for an intro to how spray tanning works.
If you’re looking for a great airbrush for spray tanning, I recommend the Iwata Eclipse HP-CS. This is the best performance to cost ratio airbrush out there. Works great for makeup, body paint, and spray tanning.
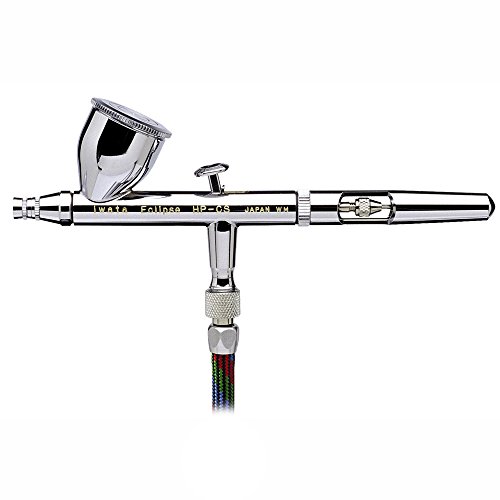
For more info, check out this article about the Iwata Eclipse.
Airbrush vs. Spray Tan Machine | Which is Better
Airbrush and spray tan machines both achieve similar outcomes – atomized fluid streams
Atomization involves breaking down a liquid into tiny airborne droplets. The droplets are then propelled in a spray stream with the intention of coating a surface – in this case, coating a person’s skin with sunless tanning solution.
For more information about atomization, check out this article about how an airbrush works.
However, airbrush and spray tan work slightly differently, so it makes one wonder which is actually better for spray tan?
As a whole, airbrush has some advantages over spray tanning machines. Airbrushes are typically double-action which means more control over the direction and volume of the spray stream. Spray tan machines are usually HVLP sprayers which produce wide coverage, but more overspray and less control over the spray stream.
As an airbrush artist, I may be biased when it comes to my tool of choice. But the way I see it, a double action airbrush can do anything a spray gun can do except with more control and versatility.
However, the HVLP-style spray tan machine can definitely lay down a higher volume of fluid (hence the name high volume low pressure). This gives you the ability to apply spray tan solution faster and get even coverage with greater ease.
NOTE: Even coverage is very important in spray tanning to avoid streaking in the finished product.
| Airbrush | Spray Tan Machine | |
|---|---|---|
| Pros | Precision Control Less Overspray | Fast Coverage Less possibility of streaking |
| Cons | Coverage Time Possibility of streaking | Overspray Less Precision Less Control |
This doesn’t mean that the airbrush can’t get even coverage, it certainly can – you just have to be more careful to use proper shading technique and not over apply or under apply in any areas.
On the flip side, a smaller spray pattern in an airbrush means more control and precision which means:
- less overspray and therefore less wasted tanning solution
- ability to avoid elbows, ankles, and palms (which soak up tanning solution and produces an uneven looking spray tan)
- ability to lightly mist the skin, slowly build up layers, not over apply, and save more tanning solution in a session.
When it comes down to it, both airbrush and spray tan machines have their pros and cons. But with a little practice, an airbrush can achieve an equal if not better sunless tan.
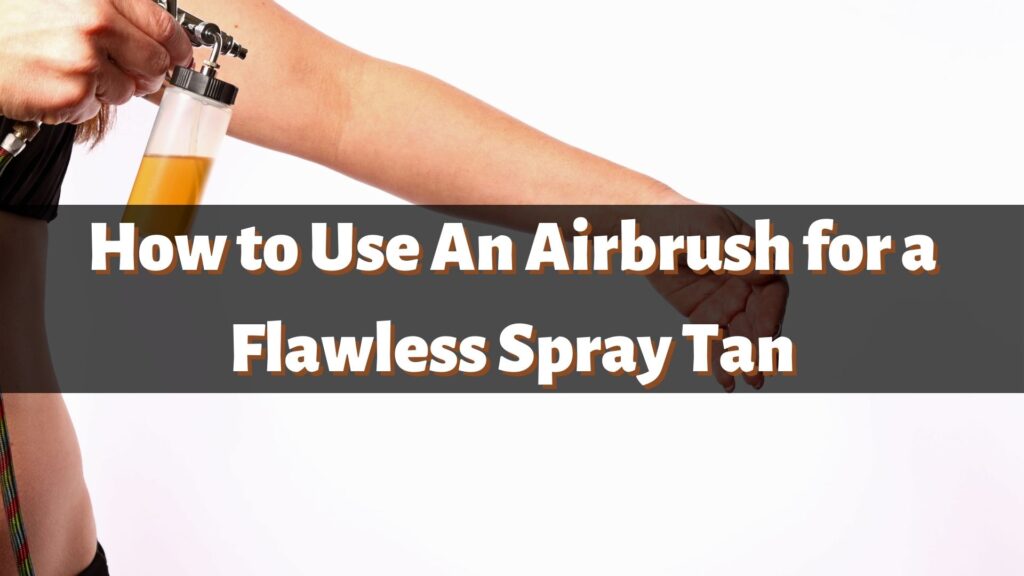
How to Airbrush Spray Tan Yourself
Home airbrush spray tanning is a great option to save some time and money. Having your own home setup has many benefits such as
- not paying extra for professional spray tanning services
- saving time from not traveling to a spray tanning salon
- making your spray tan exactly how you want it
- using your own airbrush gear to double as a spray tanning setup
In fact, you can get everything you need to do a spray tan at home including a spray tan booth to protect your furniture from overspray.
The big difference that intimidates beginner self-tanners is the lack of a helping hand to spray your entire body.
But have no fear.
You can airbrush tan yourself using a home airbrush setup. Using a small handheld tool like an airbrush allows you to spray all areas of your own body with control and precision.
Tips for Achieving the Best Airbrush Spray Tan
Follow these tips to get the best result when spray tanning yourself with an airbrush:
- apply solution with a light mist, for a darker shade, you can always add another layer.
- use proper shading technique – always activate and deactivate the spray stream while the airbrush is in motion, never stationary.
- Hold airbrush away from the body – about 15 to 20 cm above your skin.
- switch hands while holding the airbrush to reach all angles of your body.
Airbrush Spray Tan Setup | What you Need
Here’s what you need to spray tan yourself with an airbrush at home:
- Spray Tan Booth
- Airbrush with hose and compressor (checkout the best airbrush kits here)
- Spray tan solution
- Barrier Cream or Oil
- Blending Brush
Follow all the links in the list above to get everything you need to start spray tanning right away!
How to Airbrush Spray Tan Yourself | Step-by-Step
STEP 1: Apply barrier cream to dry areas of skin that could soak up excess tanning solution. Palms, ankles, tops of feet, elbows, and knees are all at risk of soaking up excess solution and over-darkening.
STEP 2: Spray from the bottom of your legs upwards. Be sure to get the calves and the back of your legs.
STEP 3: Apply spray tan solution to your torso. Switch hands to make sure you get even coverage at all angles.
STEP 4: Spray your lower and mid-back. Hold the airbrush with your thumb on the trigger to position it at the right distance while spraying back towards your body.
STEP 5: Spray arms from the wrist up towards your shoulders. Use the right hand to spray the left arm and the left hand to spray the right arm. Slowly rotate your arm so that the spray fully wraps around from all angles.
STEP 6: Spray upper back and chest. Bend forward slightly to help overspray fall onto the back. Pass the airbrush between hands as smoothly as possible to get even coverage from all angles.
STEP 7: Spray Face. Close your eyes and give your face a light mist. DO NOT close your eyes too tightly or scrunch your face as the creases will show up in the finished product.
STEP 8: Use baby wipes to remove the barrier cream from any areas that you applied at the beginning.
STEP 9: Blend the edges of your barrier cream areas (elbows, feet, hands, etc) with your blending brush to remove any jagged edges in the spray tan coverage.
And there you have it, you’re done your own personal spray tan!
Here is a great video for visual reference showing how to airbrush spray tan yourself:
Airbrushes are highly versatile tools. I am very fortunate to have learned how to use an airbrush years ago for artwork. Through my research, I’m constantly finding new ways that an airbrush can be used.
Airbrush spray tanning turns out to be a fantastic application for airbrush.
If you get the light misting and shading technique down, an airbrush can give you the perfectly even spray tan that you’re looking for. You can also spray yourself at home, make less of a mess, and waste less product.
I encourage you to try airbrush spray tanning out and let me know how it goes down in the comments!