So you’re ready to fill up your airbrush, but you’re unsure how much paint to put in it. The paint is in one hand, and the airbrush is in the other, but you’re frozen in time as you think about how to proceed.
The good news is that with a little understanding of what makes a good airbrushing workflow, you can fill your airbrush up with the perfect amount of paint almost every time.
Airbrushing with multiple colors requires that you switch between colors often. Knowing how much of each paint color to put into your airbrush can prevent paint wastage.
As a general rule, you should put enough paint in your airbrush to use up the color in the hopper but no more. However, the hopper should not be overfilled so that excess paint is leftover and wasted. Paint portions can range from a few drops for light shading work to multiple hoppers-full for large fill designs.
Following all of the tips in this article and practicing lots will give you confidence in filling your airbrush moving forward.
How Much Paint an Airbrush Uses
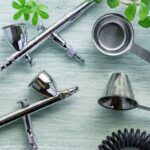
The typical size of airbrush hoppers is between 0.24 oz and 0.4 oz which means that the average hopper size is about 0.33 oz.
The amount of paint an airbrush uses depends on the kind of work you’re doing. For high detail shading work, only a small amount of paint is needed – where large fill patterns might use multiple hoppers to achieve adequate coverage.
On average, airbrushes use less paint than traditional paintbrushes. This is simply due to the efficiency with which paint is delivered through the airbrush feed system – paint inserted into the airbrush cup is almost entirely atomized. In contrast, traditional paintbrushes gather paint between the bristols which produces more overall wastage.
Detail work often uses highly reduced colors to get optimal flow for light shading work. For example, a photo-realistic painting in black and white might only use a few hoppers for the entire project.
The typical size of airbrush hoppers is between 0.24 oz and 0.4 oz. which means that the average hopper size is about 0.33 oz.
| Airbrush | Hopper/Cup Size |
| Iwata Eclipse HP-CS | 0.24 oz (7 ml) |
| Badger 105 Patriot | 0.33 oz (10 ml) |
| Paasche Talon TG-3AS | 0.4 oz (12 ml) |
A small bottle of Createx Airbrush Colors contains 2 oz of paint which means it can fill an average airbrush hopper about 6 times.
From my experience, a bottle of airbrush paint should last you a long time so there will rarely be a reason to fill the hopper completely full. You can always pour unused paint back into the bottle, but it’s not ideal and you’ll always waste some paint in the process.
Instead, a more efficient way to use your airbrush paint is to fill the hopper partially full and add more if you need it.
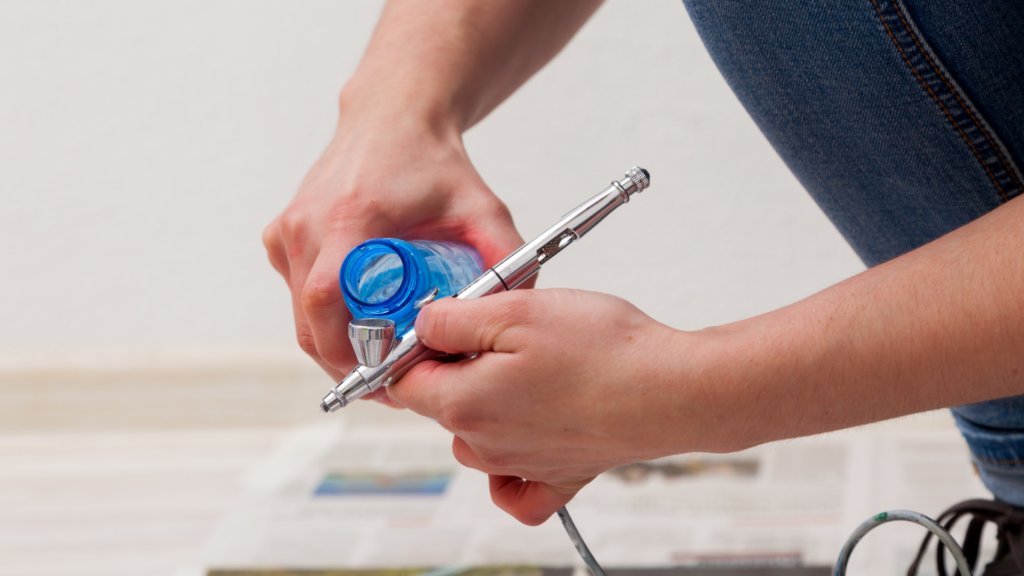
How to Fill an Airbrush With Paint
There are different kinds of airbrush feed systems. The gravity feed system is the easiest to fill and the most versatile – the paint goes directly into the hopper located on the top. Therefore, this article covers how to fill a gravity-fed airbrush.
To fill your gravity-fed airbrush with paint smoothly every time, you’ll want to follow this general process:
Step 1: Make sure the last color is washed out. Give the airbrush a quick flush with cleaner and wipe in the hopper with a rag to ensure there is no leftover residue. Even a small amount of the prior color can sometimes bleed into the new color.
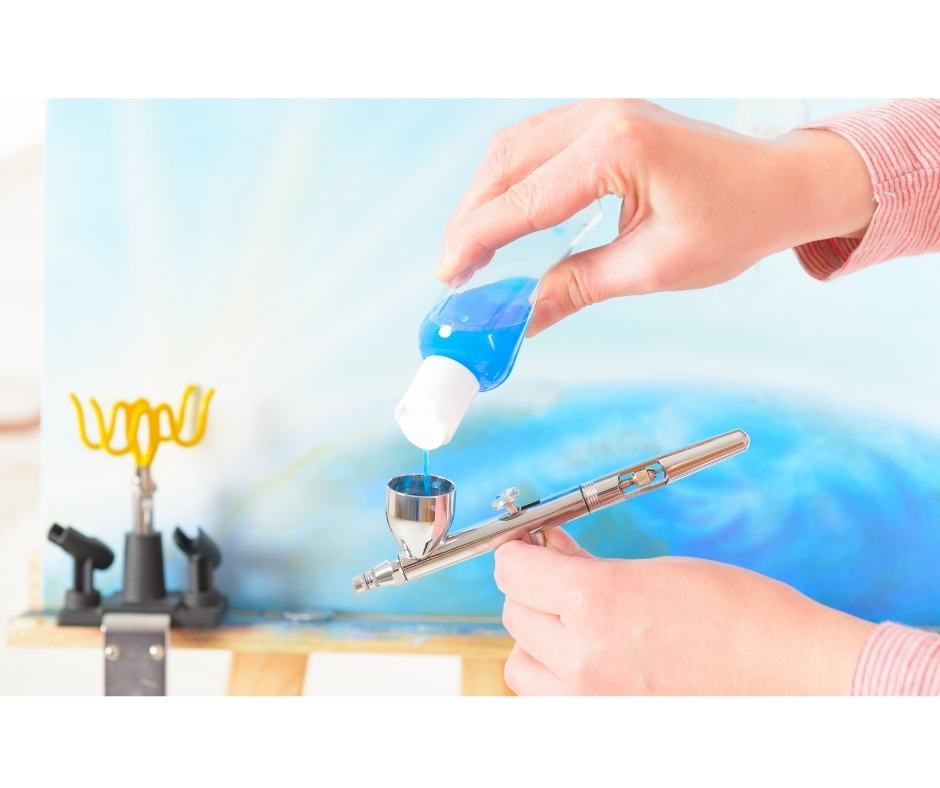
Step 2: Pour paint directly into the hopper. Transfer the airbrush paint directly from the bottle into the airbrush hopper. Do not overfill to prevent paint wastage.
Step 3: Mix paint and reducer directly in the hopper. Pour a small amount of your desired color mix and reducer into the hopper. Blend the mixture by putting the hopper cap on and shaking it up.
NOTE: Here’s a veterans tip – if your airbrush paint has been sitting for a while, be sure to strain it before filling your airbrush. Old airbrush paint is likely to have dried bits that will get into your nozzle system and plug your airbrush.
To save yourself the frustration of unclogging your airbrush all the time, strain your airbrush paint by using airbrush paint strainers.
How Much You Should Thin Airbrush Paint
A general rule of thumb is to reduce your airbrush paint at a ratio of 10% reducer to paint.
When you’re filling up your airbrush hopper, you’ll often also be adding a reducer. The reducer helps the paint flow out of the airbrush properly. If the airbrush paint is too thick, it will clog the nozzle – whereas if it’s too thin, the color tone will become too “watery” and also lead to airbrush splatter.
Because you’ll be adding the reducer in addition to the paint, you’ll have to account for the additional fluid in the mixture. Always leave room in the hopper for the reducer!
A general rule of thumb is to reduce your airbrush paint at a ratio of 10% reducer to paint.
However, different airbrush colors require different amounts of reducer. This is due to the properties of the color pigments in the paint. For example, “white” color pigments are usually very thick and will need to be heavily reduced. Other colors will need far less reduction to meet the required flow properties you’re after.
Therefore, add or subtract a few percentages to the 10% rule of thumb ratio depending on the thickness of the paint color you’re using.
NOTE: Keep in mind that not all airbrush paint needs reducer. Some airbrush paint is simply thin enough to use out of the bottle. So don’t feel like you have to reduce your airbrush paint all the time!
Check out this additional article about the difference between airbrush thinner and cleaner.