You’re decorating a cake or some other tasty dessert and it comes to you – a little airbrush art would take this to the next level! Fortunately, airbrush art is versatile enough to spray edible food coloring exactly for this purpose.
You could simply order some airbrush food color online, but you don’t want to get a whole bottle, use it once, and then have it sit on the shelf.
Instead, you can make your own airbrush food coloring!
To make airbrush food coloring, use a mixture of food coloring gel and an alcohol base such as vodka. Mix the gel into the alcohol base to ensure that there are no clumps. Fully dissolve the gel to ensure that the food coloring mixture flows out of the airbrush nozzle.
This method is very easy and inexpensive. However, if you can’t bother making it, just get the Amicolor Amerimist line of airbrush food coloring. This food coloring is top-rated, makes bright and vibrant colors, and flows like butter out of your airbrush nozzle.

This article will teach you all about making your own airbrush food coloring – what it’s used for, the ingredients you will need, and how to mix it.
What Airbrush Food Coloring is Used For
Airbrush food coloring is used for decorating all kinds of edible foods. Cakes, Cookies, or other deserts.
Food coloring has been around for a while. Whether you’re slathering your cake with icing, or smearing around some food coloring with a stick, this is an area where you can really let your creative juices flow.
A big component of baking and cooking is the presentation. Putting a little extra something on your food can make it that much more appetizing.
Cakes are really fun to decorate because of the large surface area you have to design. This video does a really good job of showing how to airbrush a cake:
If you need to pick up some gear for airbrush cake decorating, be sure to check out this article on the best airbrushes for cake decorating.
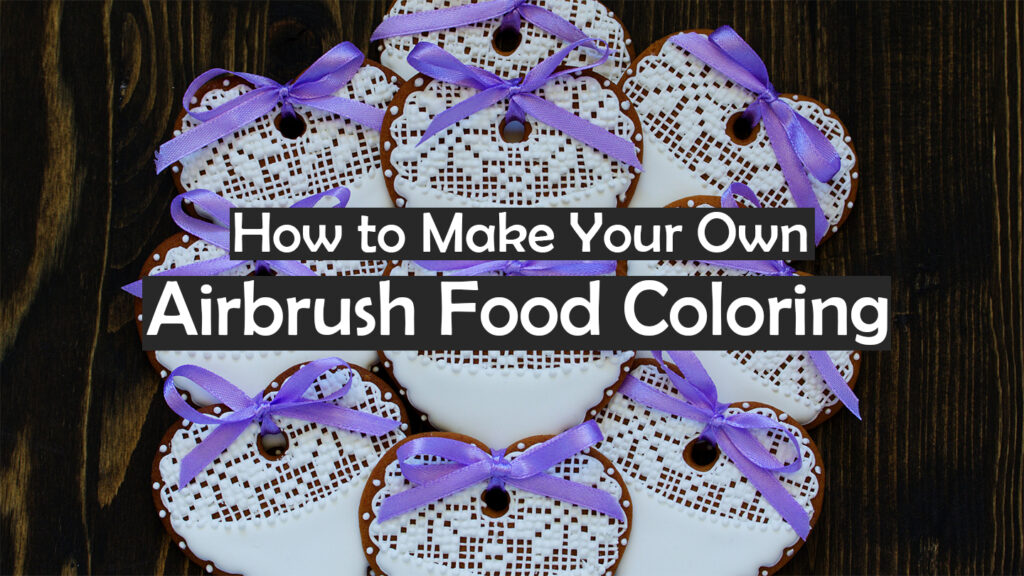
Cookies are another favorite for airbrush artwork. By combining unique colors and designs, you can make a batch of themed cookies for practically every holiday and season in the year.
This article is a great tutorial on how to airbrush cookies properly.
Airbrush stencils work especially well for decorating cookies – small stencil design features can cover the entire cookie, giving it a very complete and impressive look.
Other desserts are always on the table for airbrush art. Once you get your toes wet with the cakes and cookies, why not branch out into pastries, ice cream, or cupcakes?
Let your creativity run wild because you never know how it could turn out!
Airbrush Food Coloring Ingredients
Airbrush food coloring basically only includes 2 ingredients;
- Alcohol
- Food Coloring Gel
The reason for using alcohol is that it is less dense than water – making it flow better out of the airbrush nozzle. Vodka works great for the alcohol base because it’s clear and cheap – in theory, you could use other clear alcohols like gin or white rum.
For the food coloring gel, use Wilton Icing Colors. These food colors are extremely concentrated which gives them a very bright and vibrant color tone, even when diluted in the vodka base.

Typically, airbrush paints are made out of extremely fine pigments to get the flow properties needed. Since we’re using food coloring gel, it is that much more important to use alcohol instead of water, and mix up the gel completely to make sure it is completely dissolved.
Use a small bottle to mix and hold the airbrush food coloring. It also helps to have a pouring spout for filling up the airbrush cup.
Something like these bullet bottles work great for mixing different food colors.

How to Mix Airbrush Food Coloring
The key to mixing great food coloring for airbrush is to make sure that there are no clumps.
Trust me, there is nothing more frustrating than having a clogged airbrush nozzle. Instead of taking hours unclogging nozzles, take a little extra time to ensure the food color is adequately dissolved.
Step 1: Use a small scoop to put about a 1/4 tsp of Wilton Icing Color gel into a bottle.
Step 2: Measure out about 1/8 of a cup of vodka in a measuring cup and pour it directly into the bottle. Always leave room in the bottle so you can shake the mixture.
Step 3: Shake the living bejeezus out of your solution. This step is very important to ensure the gel is completely dissolved. Avoid clumps like the plague!
Once your food coloring is mixed, give it a whirl in your airbrush! Spray a little onto a practice sheet to see how the color consistency turns out. If it’s not colorful enough, add SLIGHTLY more gel to the mixture. Remember, you don’t want to make it too thick or clumpy and you can always add more – but you can’t take it out.
Mess around with the consistency a bit until you get the perfect color tone!
Airbrushing is such a versatile art form that you can use it for cool applications like food decorating.
When you can make your own airbrush food coloring, it really gives you the freedom to dive into the food decorating world.
Follow the steps in this article to make some bright, vibrant, and colorful artwork that will wow your friends and family while still tasting great.