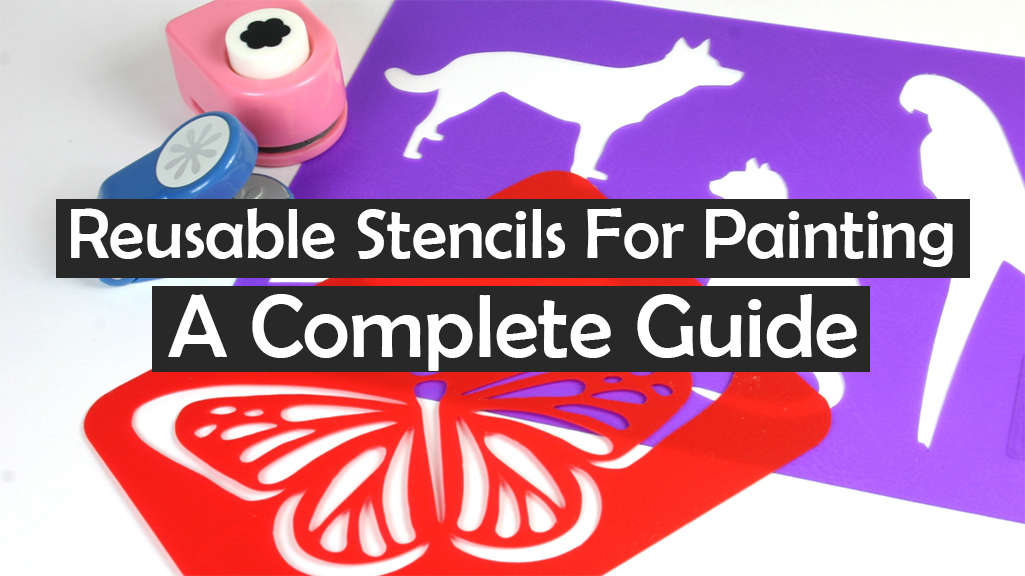
Stencils are a great way to paint. Instead of learning how to freehand paint, which can take years, you can jump in and make things look awesome right away.
Once you get into stenciling, you will quickly find that remaking stencils for every project is time-consuming and wasteful. In fact, you’ll probably get to the point where you won’t even want to paint at the thought of making another stencil only to throw it out after.
Instead, you can make reusable stencils. Reusable stencils are designed to withstand wet paint and can be used over and over. In fact, you can build a whole collection of reusable stencils that, when used together, can make amazing mix-and-match combos.
After spending years making and using reusable stencils for airbrush and body painting, I’ve found what works and what doesn’t. My goal is to make sure you do not make the same mistakes that I did when I first started stenciling.
This article outlines everything you need to know on how to get started with reusable stencils.
The Best Material For Reusable Stencils
The main characteristic that makes stencils reusable is the material.
If you make your stencils out of flimsy material, expect them to fall apart quickly.
Make your stencils out of something durable, and you’ll be using them for years to come.
However, strength is not the end all be all. With increasing durability comes limitations in other areas – for example, flexibility, cutability, transparency, easy storage, etc.
Therefore, great stencil materials have a balance between different factors:
- durable
- flexible
- cuttable
- Transparent
If you can find a material with all these characteristics, you’ll have some great stencil material on your hands.
Mylar
Flexible mylar sheets for making reusable stencils
Mylar is pretty much the best material for reusable stencils. It has unmatched characteristics for creating precise designs over and over again.
Mylar is a thin, semitransparent plastic that comes in various thicknesses. I’ve found that mylar between 1 mil and 10 mil thickness is perfect for making stencils – its thick enough to have durability, but thin enough to be flexible and cuttable.
Most store-bought stencils will be made out of mylar which makes sort of an industry standard.
If you don’t want to pay a huge markup on store-bought stencils, you can easily make your own. This is exactly what I’ve been doing for years for airbrush stenciling and I can guarantee that you will save a ton of money in the long run.
Check out this article if you want to learn more about the best material for airbrush stencils in general.

Plastic Binder Dividers
Plastic Bincer Material for making reusable stencils
The second-best material for reusable stencils that I’ve found is plastic binder dividers. A pack of these is the next best thing to mylar. In fact, they have basically the same characteristics as mylar – a flexible, durable, material that can be cut into various shapes.
This material can be cut by hand or loaded into a stencil cutter.
The 2 downsides of plastic binder dividers are that they only come in size 8.5 – 11 inches and they are slightly more expensive. But if you’re in a pinch, you can stop by your local office supply store and pick some up – mylar, on the other hand, may or may not be so available to you.
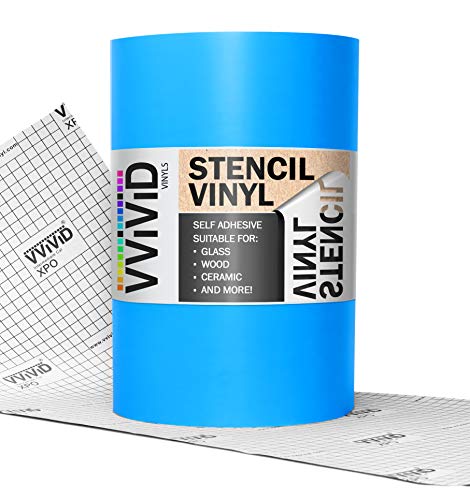
Low Tack Vinyl
Low Tack Vinyl Stencil Material for reusable stencils (4 to 5 uses)
Low tack vinyl is next on the list of best material for reusable stencils. Typically, vinyl is reserved for the one-use/disposable variety of stencil material – you cut out your stencil design, transfer it onto your substrate, paint your design, tear it off and throw it away.
However, low tack vinyl allows you to stick the vinyl on temporarily, paint your design, and lift the stencil off the substrate without damage.
The low tack vinyl already has adhesive on the back which makes it a convenient option. The one downside is the durability factor – I would only expect vinyl to work for 4 or 5 uses before it starts to come apart.
Once you use your low tack vinyl stencil, be sure to stick it onto a flat surface like cardboard for storage so it doesn’t get folded over.
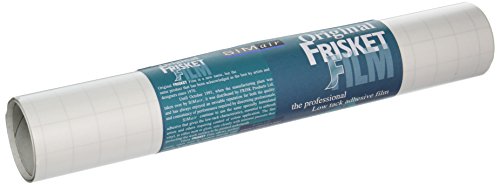
Paper with Frisket Film
Frisket Film for Making Reusable Stencils
When you first start getting into stenciling, the paper with frisket film method works great.
These stencils are basically made up of a piece of paper sandwiched between two plastic film sheets.
An exacto knife is used to cut a design into the stencil.
Paper with film stencils are durable, cuttable, and fairly flexible. The best part about this kind of stencil material is that it is super easy and cheap to get into.
The frisket film and exacto knife can be ordered on Amazon, or picked up at the local hardware store.
Additionally, you can draw or print a design onto the paper so you can easily trace it into stencil format – I’ve personally spent many evenings carving elaborate stencils out in front of the TV.
The downside is that your designs will never be quite as exact as the computer cut stencils, but if you’re looking for a cheap intro into the stencil world, paper with frisket film works great!
How to Make Reusable Stencils
So you’ve got the right material for the job, now all you have to do is turn it into a stencil.
Here are the 3 main ways to make reusable stencils:
- using a stencil cutter
- using an exacto knife
- using a heat tool
Using a Stencil Cutter
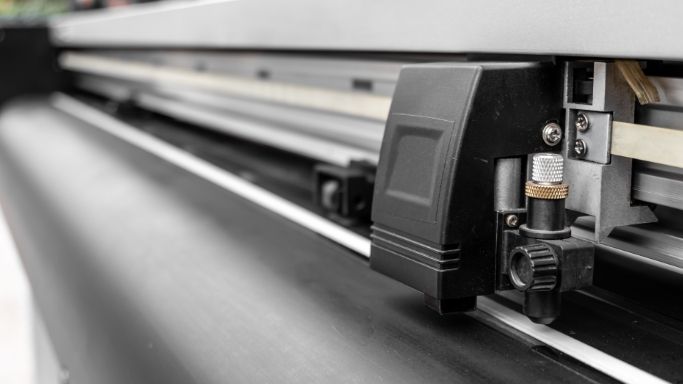
A stencil cutter is by far the best way to make reusable stencils. They will come out looking far better than anything you can do by hand.
To cut stencils with a stencil cutter, you can either send them to a business that cuts vinyl and stencils for a price, or you can invest in your own stencil cutter. The stencil cutting business will inevitably hose you on price. So if you’re already going through the effort of making computerized designs, I highly recommend getting your own stencil cutter.
Stencil cutters come in various shapes and sizes – some are marketed as vinyl cutters but they will still cut materials like mylar extremely well.
For help on picking a great stencil cutter, check out this article on the best stencil cutting machines for airbrushing.
The process for cutting stencils on a machine is pretty straight-forward:
Step 1: Create a vector design file on the computer – This can be done with software such as Adobe Illustrator or the software included with your stencil cutter. By sure to connect all of the “islands” in the design so there are no floating pieces!
Step 2: Load up your stencil material into the machine – This is typically done by sticking a mylar sheet onto the cutting mat or loading a roll of low-tack vinyl into the machine.
Step 3: Cut the stencil – let the machine do its thing.
Step 4: Remove the cut plastic from the cutting mat and voila, you have a reusable stencil! With low-tack vinyl, you will have to do some weeding to remove the negative sections from the design – you can do this quickly and easily with a pair of tweezers.
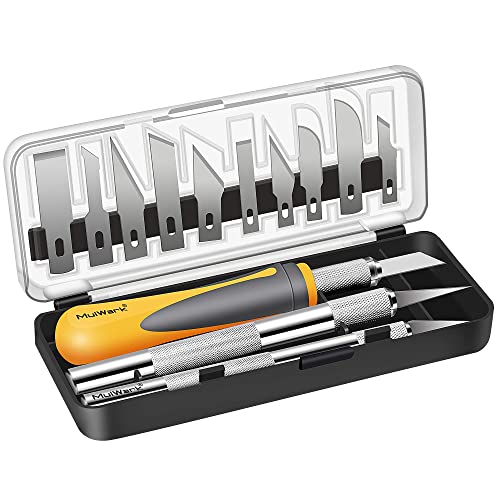
Using an Exacto Knife
Exacto Knife for Cutting Out Reusable Stencils
If you don’t have a stencil cutter, you can use an exacto knife and a cutting board to cut your stencils out by hand.
This method works with mylar, paper with frisket film, or binder dividers. Unfortunately, low-tack vinyl doesn’t really work because it is too hard to just cut through the vinyl but not through the backing.
Here’s the process for cutting reusable stencils with an exacto knife:
Step 1: Attach a pattern onto the back of your stencil material. Most mylar is see-through so simply tape a piece of paper with your design onto the back of it. The piece of paper in-between your frisket film can also have a design on it.
Step 2: Place your stencil material onto a cutting board.
Step 3: Cut the stencil out by tracing the design with your exacto knife or by freehand “drawing” a design. If you do freehand the design, make sure there are no “islands”!

Using a Heat Tool
Heat Tool for Cutting Designs into Plastic Stencil Material
A heat tool works great for plastic reusable stencils. Simply take a heat-soldering gun to melt mylar or binder dividers in whatever pattern you want.
A stencil cutting tool with a fine tip works great.
Print or draw your stencil design on paper and place a see-through mylar sheet on top of it. Using the tip of the heat tool, trace over the design while melting the plastic.
Make sure to attach all islands and make a wide enough opening for the paint to get through!
In all honesty, this method for making reusable stencils is my least favorite – it is hard to make crisp straight lines because of melted plastic residue. However, I find that it is slightly faster than the exacto knife method and can give it an “organic” look.
If you’re handy with a heat tool and want to save some time, this method is a great option.
Pros and Cons of Reusable Stencils
Reusable stencils are great if you’ll be moving the stencil around a lot, and want to use the same design over and over.
The downside is that you have to put bridges in the artwork that will make the design less exact, paint can build up and make design flaws, and it generally costs more for the more durable material.
| Pros | Cons |
| – Economical for multiple uses – Durable – Can be layered – Fast and easy to use | – Costs more if only using one time – Not as precise as single-use stencils – Have to include “bridges” in designs |
I’ve found that reusable stencils are great for certain types of artwork such a body painting. For painting signs or other one-off type crafts, single-use stencils using a vinyl cutter will work just fine.
How to Use Reusable Stencils
Follow these tips to make your reusable stencils work flawlessly:
Tip 1: Hold the stencil in place – You can use a steady hand for quick application, tape it down, or use spray adhesive. The main thing is that the stencil remains absolutely still so as to prevent double-lines.
Tip 2: Make sure that the stencil is flush with the substrate – If the stencil is hovering over the surface, you risk getting paint under the edges and making sloppy lines.
Tip 3: Wrap around the substrate – When you’re painting an object that isn’t completely flat, make sure that the stencil wraps around so the edges don’t lift too much.
The great thing about stencil artwork is that it works with many different painting methods. Some of these include:
- airbrush
- paint brush
- spray paint
- sponge paint
In fact, one of the world’s most popular and notorious artists, Banksy, has risen to prominence from primarily making stencil artwork.
Whatever method you choose, the standard stenciling guidelines apply – make sure the stencil is still, wrapped around, and flush with the substrate.
Reusable Stencils Storage and Care
When you start building a collection of reusable stencils, you’ll quickly start running out of space. Organization and proper care will keep your stencils together and keep them looking fresh for years to come.
Organization
Stencils will most commonly fall apart by getting bent out of shape. Therefore, the key to great stencil storage is organizing them in a flat arrangement. This can be best achieved with file folders.
I especially find the file folder bag type to be effective at keeping the stencils in one place while staying portable.

24 Pockets Expanding File Folder
File Folder Bag for Keeping Stencils Flat and Organized
Labeling the different categories will save you hours of searching time in the long run.
Wash Wipe and Dry
The second most common way that stencils start to get wrecked is by sticking together. When there’s paint residue left over after use and you press the flat surfaces of two stencils together, you can imagine how badly they will stick together.
Once the paint is dried, it can be nearly impossible to separate the stencils without causing damage.
To avoid damaging the stencils that you worked so hard to design and cut, make sure that you always WASH, WIPE AND DRY before storing.
After use, simply take a dry rag and pat dry your stencils on both sides. It really only takes a few minutes to do after painting and will save you hours of redesign in the long run.
For plastic stencils, a little soap and water from time to time can help reduce the paint build-up from multiple painting sessions. Its not a big deal for 3 or 4 uses, but after a while, you’ll find a slight film of dry paint to build up on the edges. Mitigate dry paint build up with a quick wash and dry from time to time.
Making reusable stencils are one of the most rewarding ways to make art. You can really let your creativity run wild with the design and the styling looks crisp and professional.
Don’t torture yourself by throwing out one-time use stencils. With a little extra investment in the right material and a good method of cutting, you can start to build a mix-and-match collection that can be used over and over.
Proper storage and care will ensure that your stencil collection stays mint and you’ll always have something fun to pull out to make some amazing artwork.