Like the tip is to the spear, the blade is the critical point of your vinyl cutter.
Whether you’re cutting vinyl for sign making, or stencils for airbrush and spray paint art, a crisp clean cut is what you’re after. Without knowing the basics of vinyl cutter blades, you’re bound to suffer through many terrible cuts that take forever to fix. Bad cuts will frustrate you beyond belief (I know they have frustrated me over the years.)
Don’t make the same mistake as me and set up your vinyl cutting blades for success!
This article is all about vinyl cutting blades – different types, how they work, how to change them, and everything you need to know to cut like a pro.
Types of Vinyl Cutter Blades
The blade is the part of the vinyl cutter that actually digs in and cuts the vinyl. There are many different cutting blade types out there – made of different materials, different angles, and some specialty options.
Are Vinyl Cutter Blades Universal?
For the most part, vinyl cutter blades are not universal. Get the corresponding brand. You can find deals on “universal” blades, but make sure the blade specifies that it will fit in your vinyl cutter.
Vinyl Cutter Blade Materials

Vinyl cutting blades are generally made with tungsten carbide – a very durable material which, in the world of natural minerals, is second only to diamond in hardness.
So as long as you’re getting a blade that is made from tungsten carbide, you can be confident that it will be strong and durable.
However, there are different types of carbide that will last longer depending on their manufacturing process.
For example, Cricut makes Premium Fine Point Replacement Blades that are made from German Carbide manufactured carbide. Their carbide production process involves a finer grade of tungsten powder and an optimal amount of binding agent – which creates a stronger, more durable product.
Many people have found that premium blades made from superior carbides last much longer than generic blades. Of course, generic blades are much cheaper so it’s hard to say who is saving money in the long run.
At the end of the day, it’s probably a good idea to know what your blades are made out of before buying them. A quick check of the reviews online will usually reveal any glaring deficiencies in the durability.
Vinyl Cutter Blade Angles
Vinyl cutter blades are mostly made in three different angles – 30 °, 45 °, and 60 °.
Higher blade angles cut thicker materials, lower blade angles don’t dull as fast and last longer.
Most vinyl cutters come with a 45 ° angle blade as standard. This is what I use most of the time and it cuts vinyl wonderfully.
| Blade Angle | Material Thickness |
| 30 ° | 1 – 2 Mil |
| 45 ° | 2 – 6 Mil |
| 60 ° | 6 Mil and up |
If you’re cutting various materials, it’s a good idea to have different blade angles on hand.
Specialty Vinyl Cutter Blades
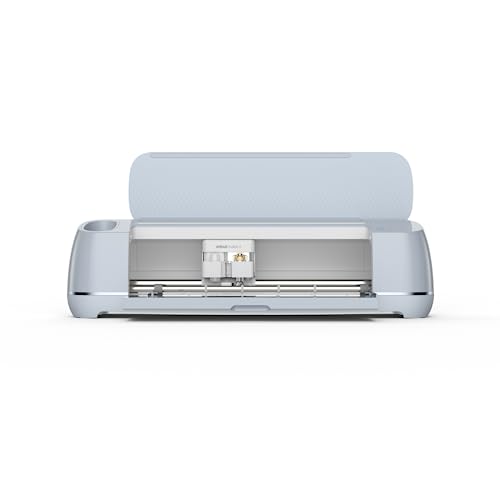
Cricut Maker 3
Most Versatile Vinyl Cutter
The Cricut Maker 3 has numerous specialty blades for different applications.
Once you start getting into specialty cutters like the Cricut, you will have “specialty” blades to choose from. Cricut has a few options including:
- fine point,
- deep point,
- bonded fabric,
- rotary,
- knife, and
- scoring wheels.
In addition to vinyl, these specialty blades are made to cut through various materials to make stencils, craft shapes, or anything else you can dream up.
Here’s a good chart from Cricut that gives you a breakdown of all the different materials you can cut and what blades you should use. Even if you don’t have a Cricut, this chart should give you an idea of what kind of blade to use on your cutter and the downforce settings you should use.
How Long a Blade Lasts on a Vinyl Cutter
The first thing you will notice with a used blade is that it will not cut through the material easily.
There’s no set time or usage limit for a vinyl cutter blade before it needs replacing. It all depends on how much you cut, how your machine is set up, and what you are cutting.
However, you do need to keep an eye out for when your cut quality is deteriorating. The first thing you will notice with a used blade is that it will not cut through the material as easily – certain edges will stay connected and cause flappy bits in the weeding process.
You can get some extra life out of a blade by adjusting the pressure or depth setting, but the cutting quality will further deteriorate looking jagged and messed up. Ideally, you should just change it.
New blades are relatively cheap considering the life you will get out of them.
If you suspect that your blade is starting to dull, you can remove it from the holder and inspect it carefully. Sometimes you can see small chips on the surface or the point will be worn down. If this is the case, make sure to change it ASAP!
There is no magic number on how many cuts a blade will last for, but assuming you’re cutting standard vinyl, you should expect at least 100 cuts out of a blade.
To make your blade last longer, be sure to choose the right settings and adjustments – just enough downforce and blade extension will prevent excessive digging into the backing paper or cutting mat.
My last recommendation on this point is to have extra blades on hand. There’s nothing worse than needing something cut right now and having to wait for replacement blades in the mail.
How to Change a Vinyl Cutter Blade
The process for changing a vinyl cutter blade is fairly universal and pretty straightforward.
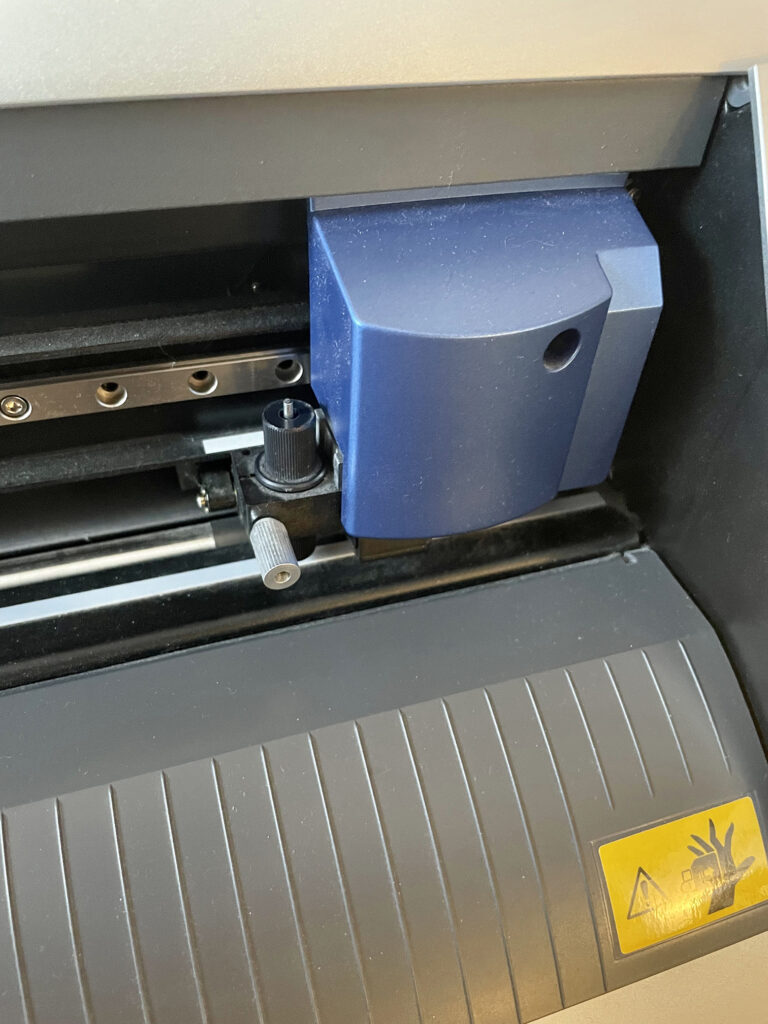
Here is how I change the blade on my Roland GX-24 Vinyl Cutter.
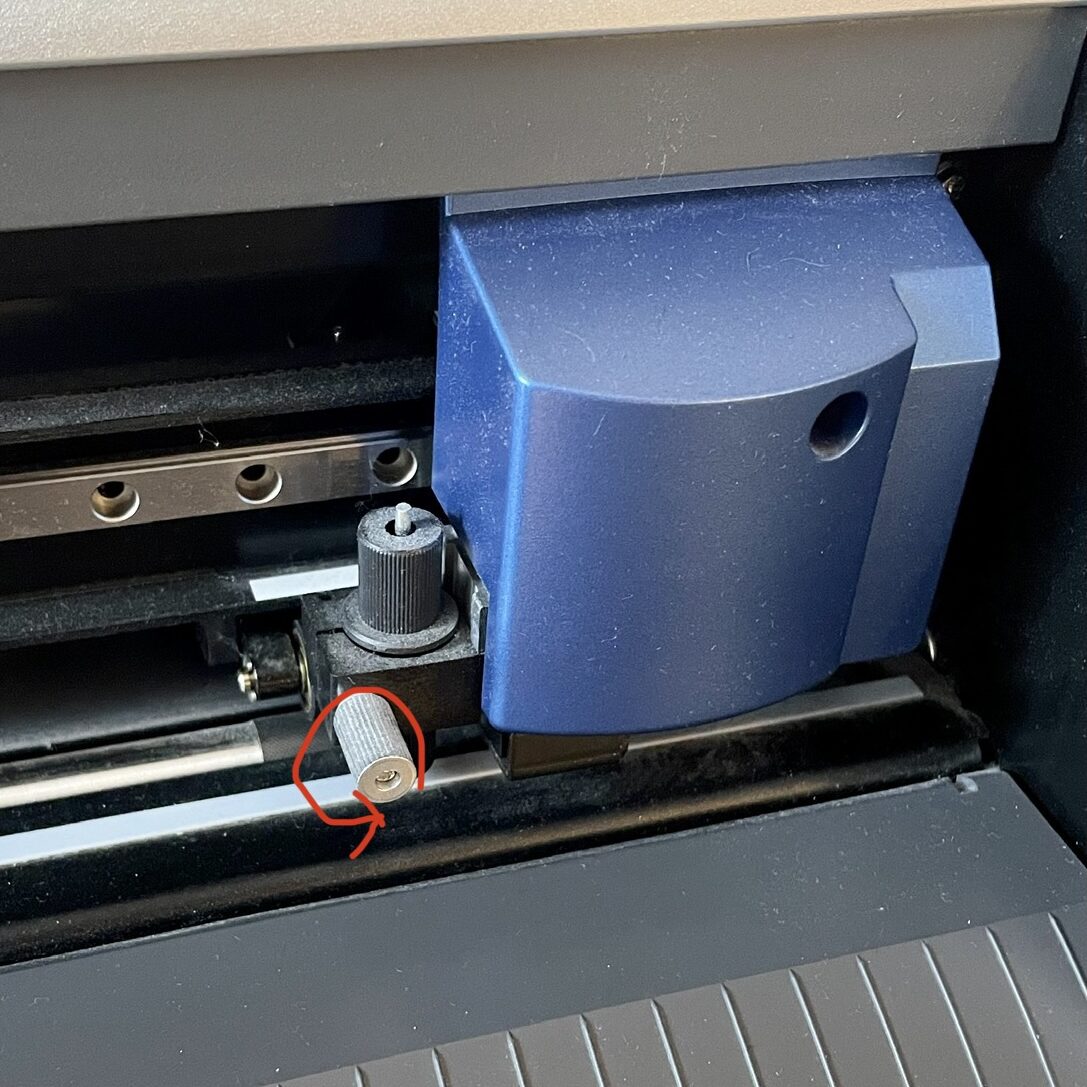
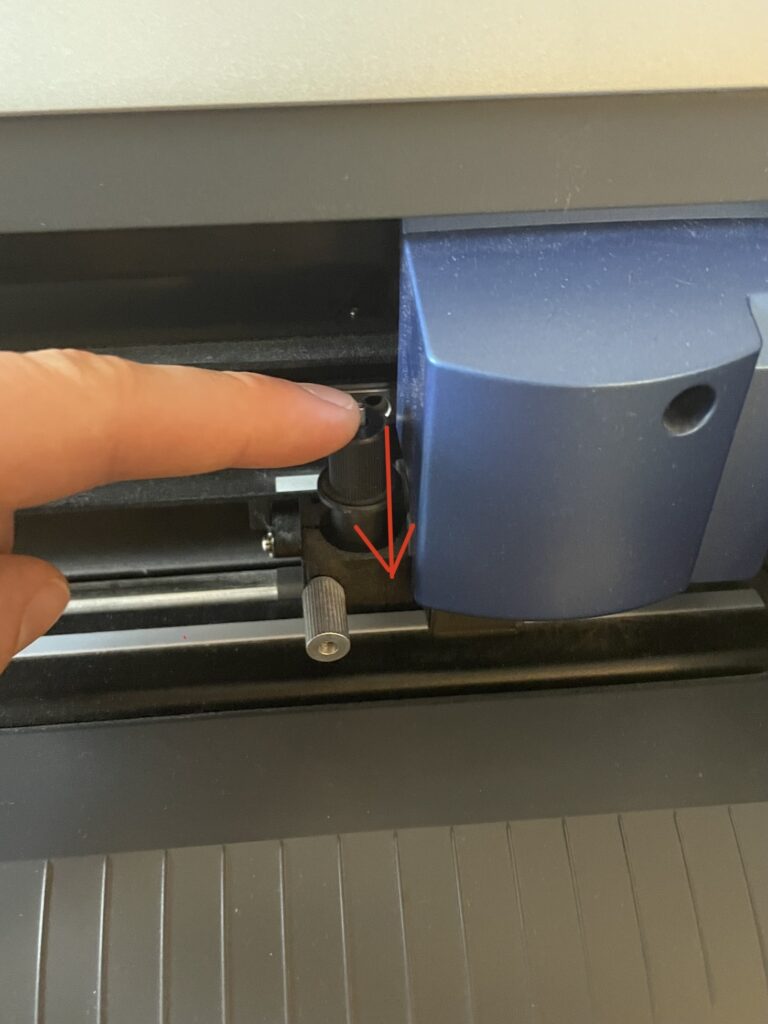
Step 1: Remove the blade holder from the machine. Release the blade holder by loosening the holding screw.
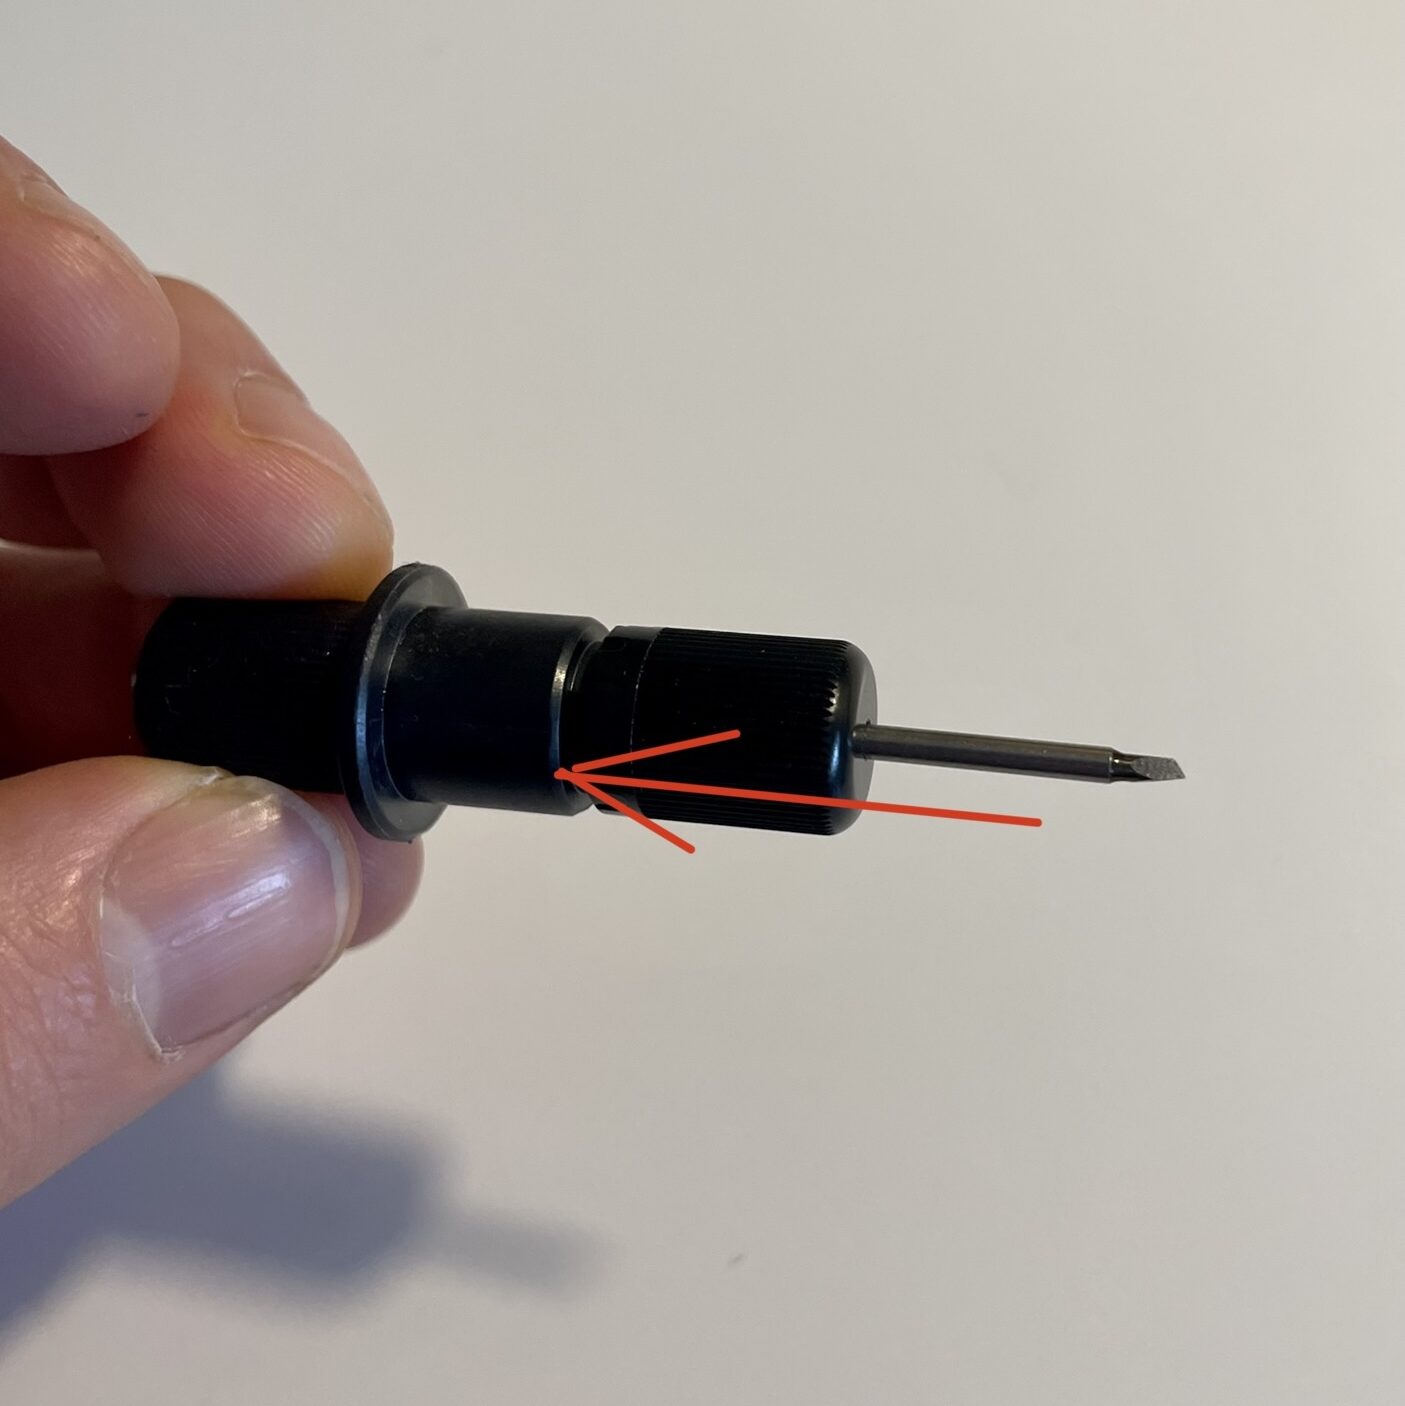
Step 2: Remove the blade from the blade holder. Push the metal rod on the back of the blade holder until the blade pokes out of the front. Grab the blade with your fingers and pull it out of the holder.

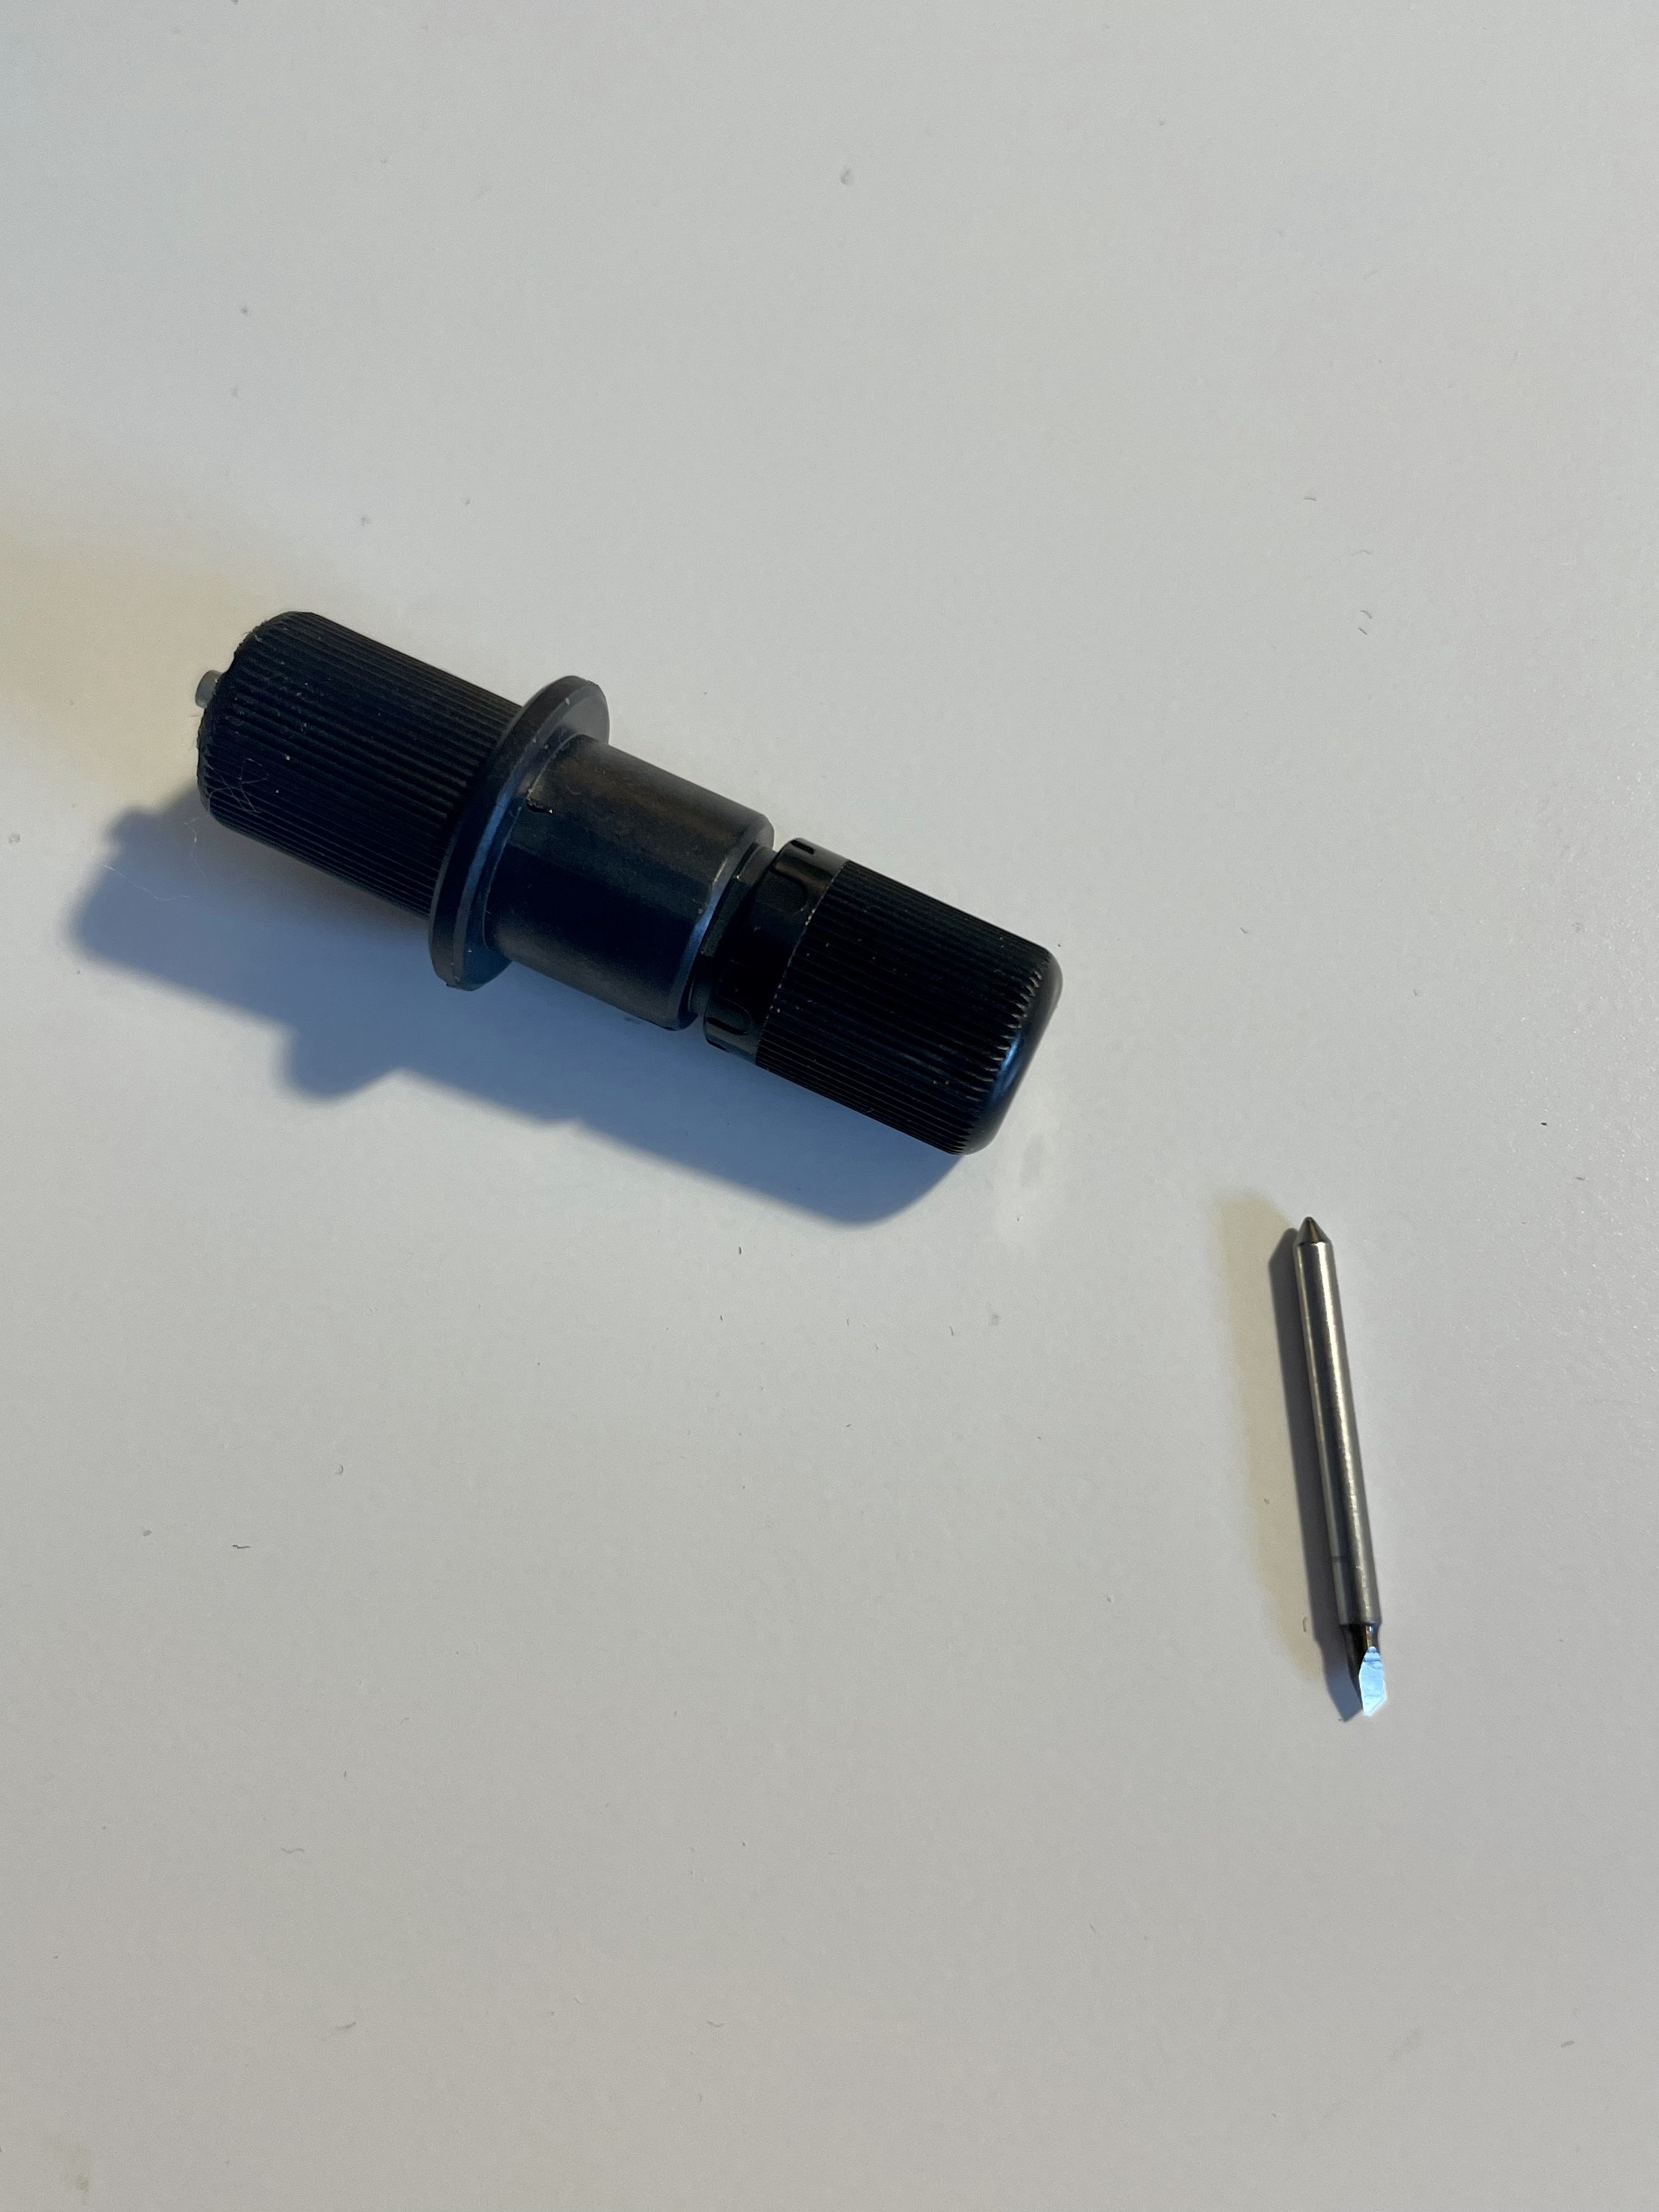
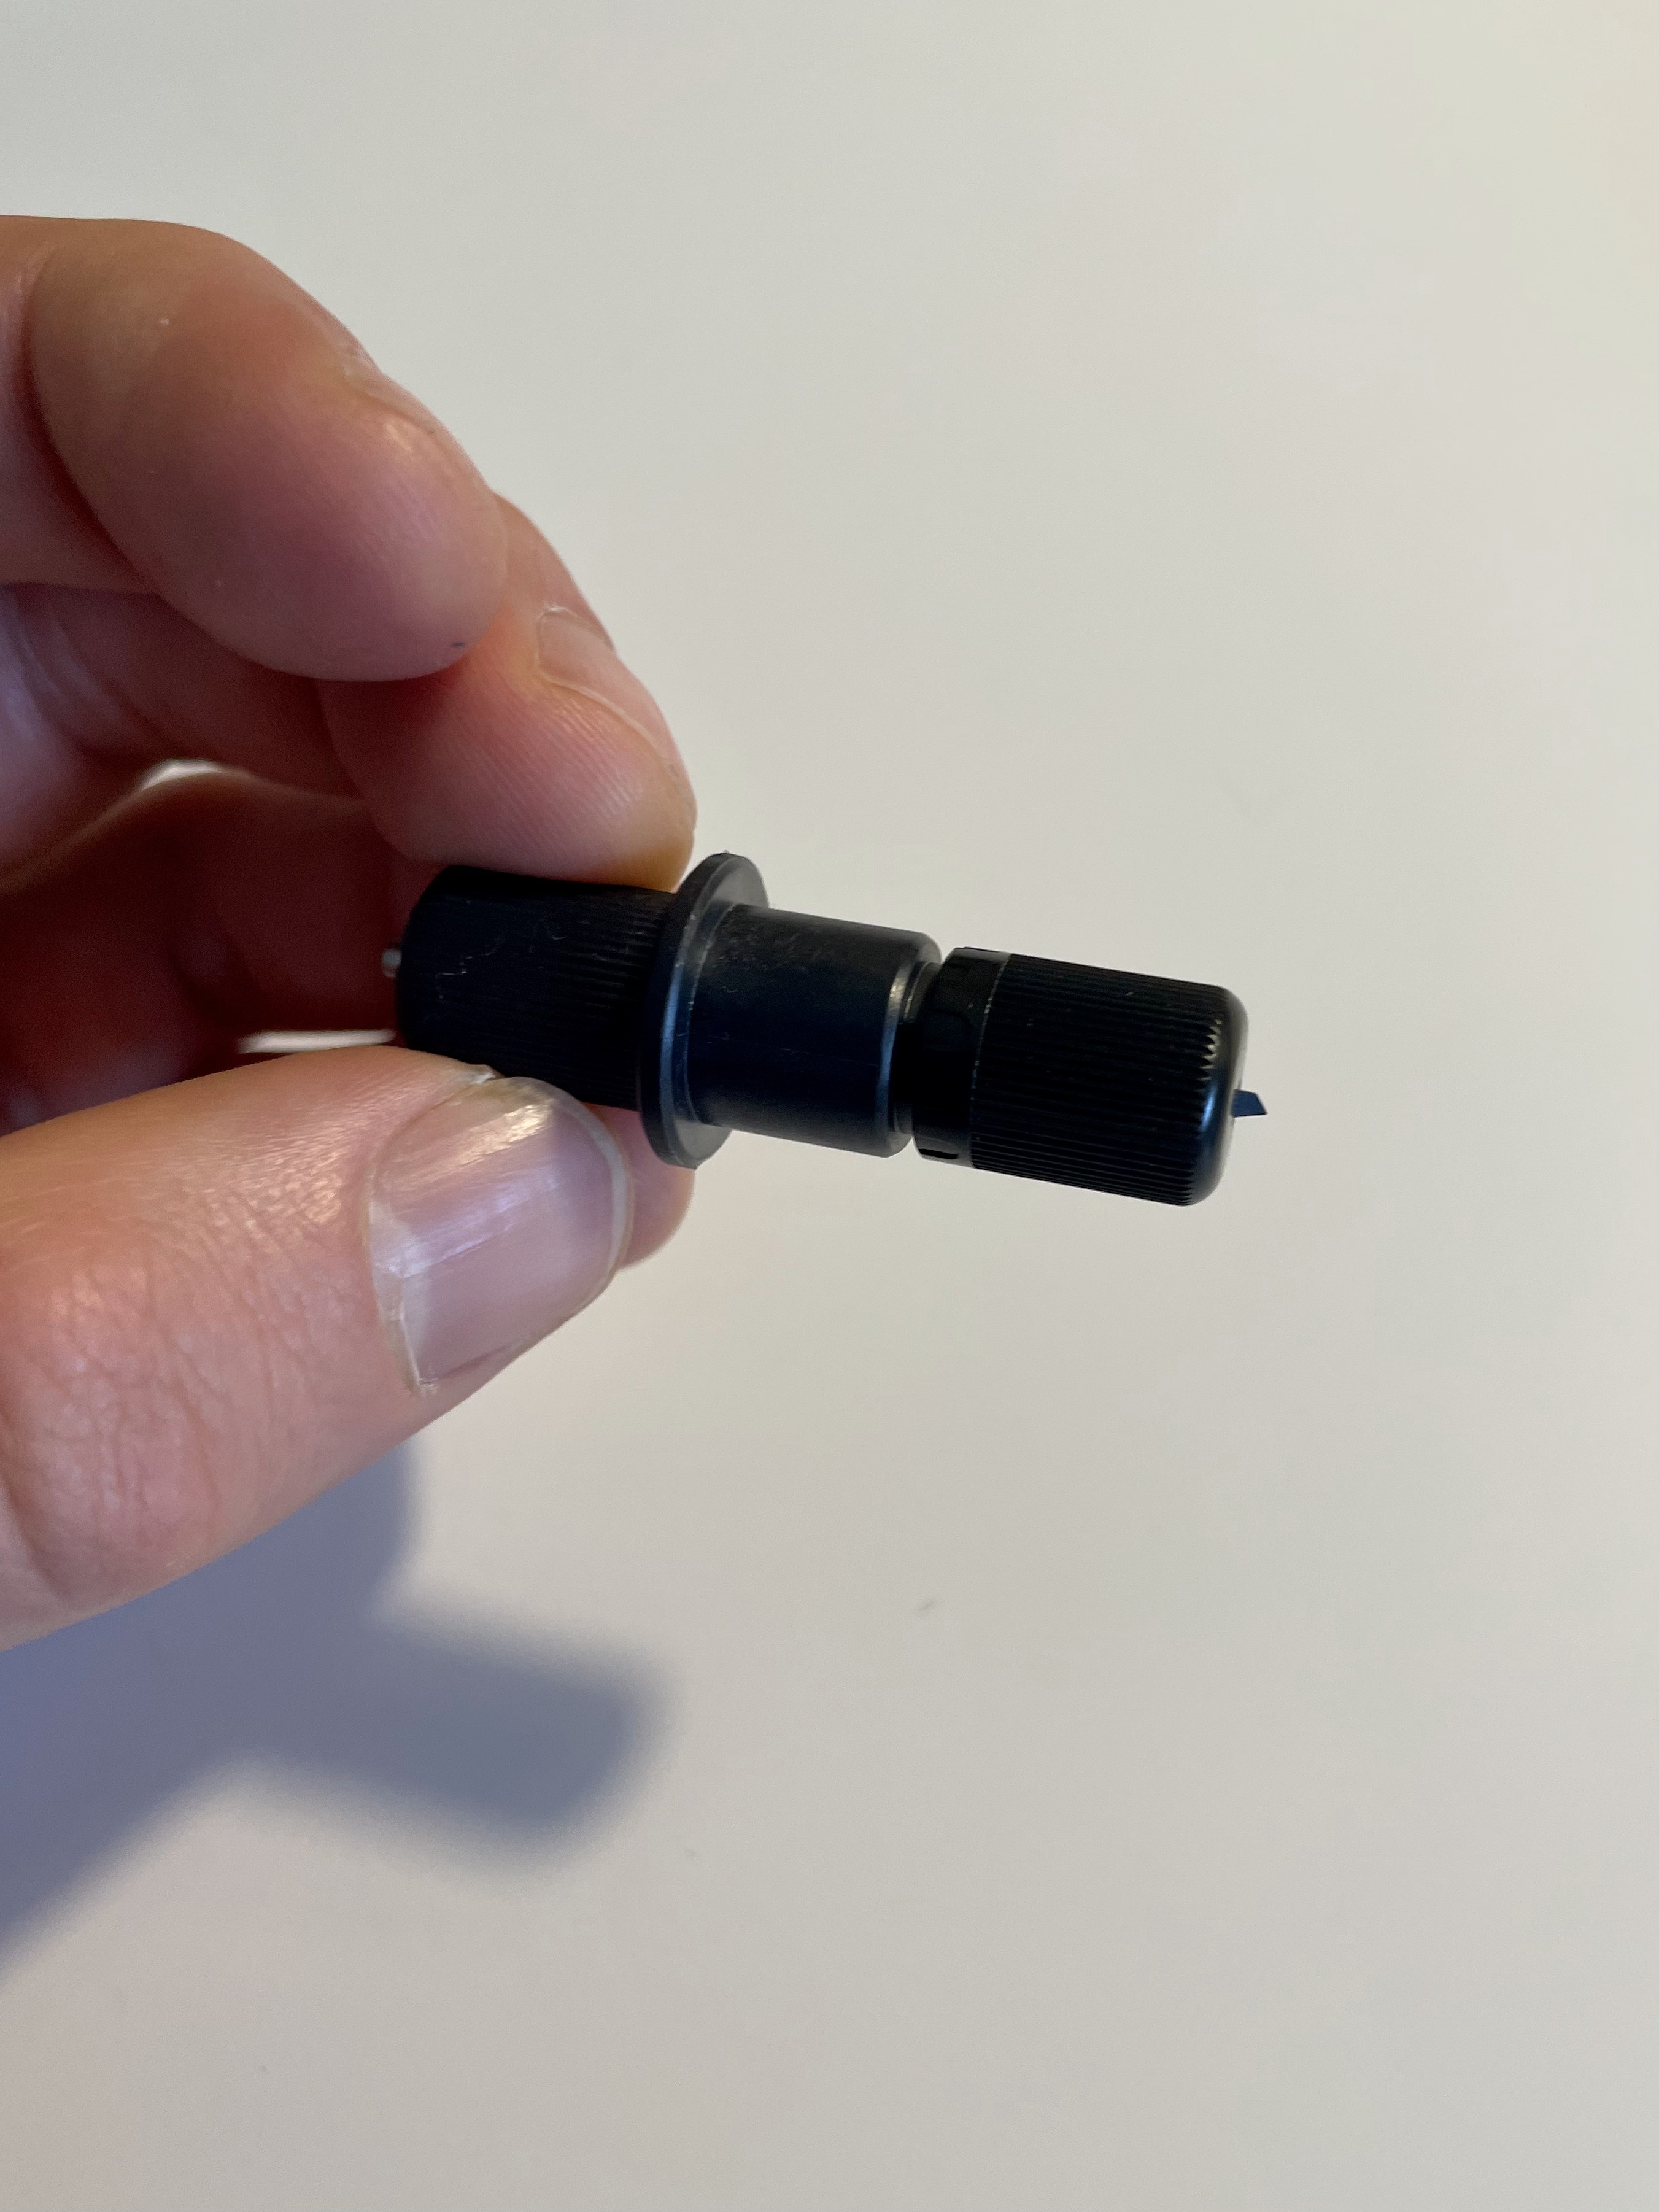
Step 3: Insert the new blade into the blade holder. Drop the blade into the front of the holder – it should slide right into place.
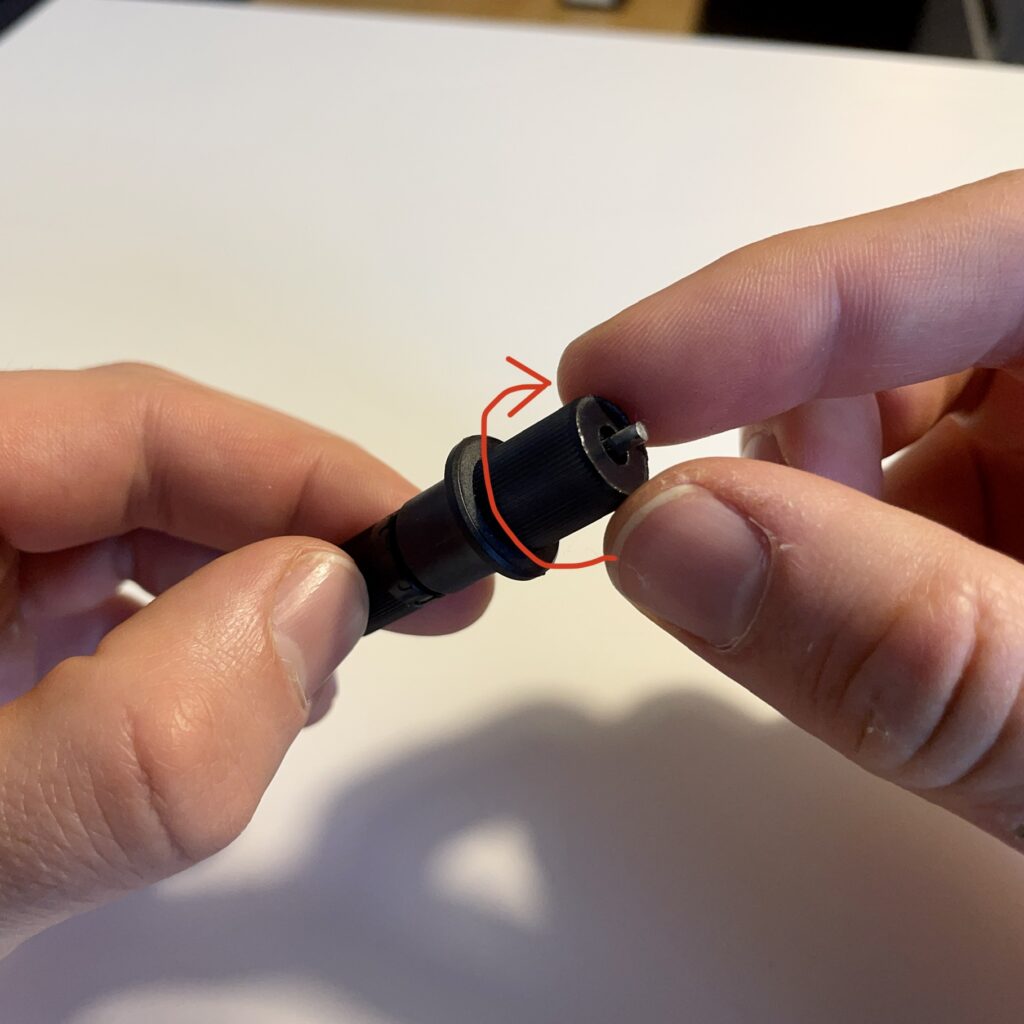
Step 4: Adjust the blade depth setting. Turn the knob on the back of the blade holder to adjust the depth – rotating to the right means more depth while rotating to the left means less depth. For cutting vinyl, set it so the blade is protruding outwards approximately the thickness of a credit card.
Step 5: Replace the blade holder. Insert the blade holder back into the machine and push it all the way down. Tighten the holding screw until it is firmly holding the blade holder in place.
Your blade is now replaced! With a little practice, you should be able to change a blade in less than a minute.
Vinyl Cutter Blade Adjustments
The main adjustments you need to worry about in regards to the cutting blade on your vinyl cutter are the offset, blade depth, and pressure/downforce.
Blade Offset
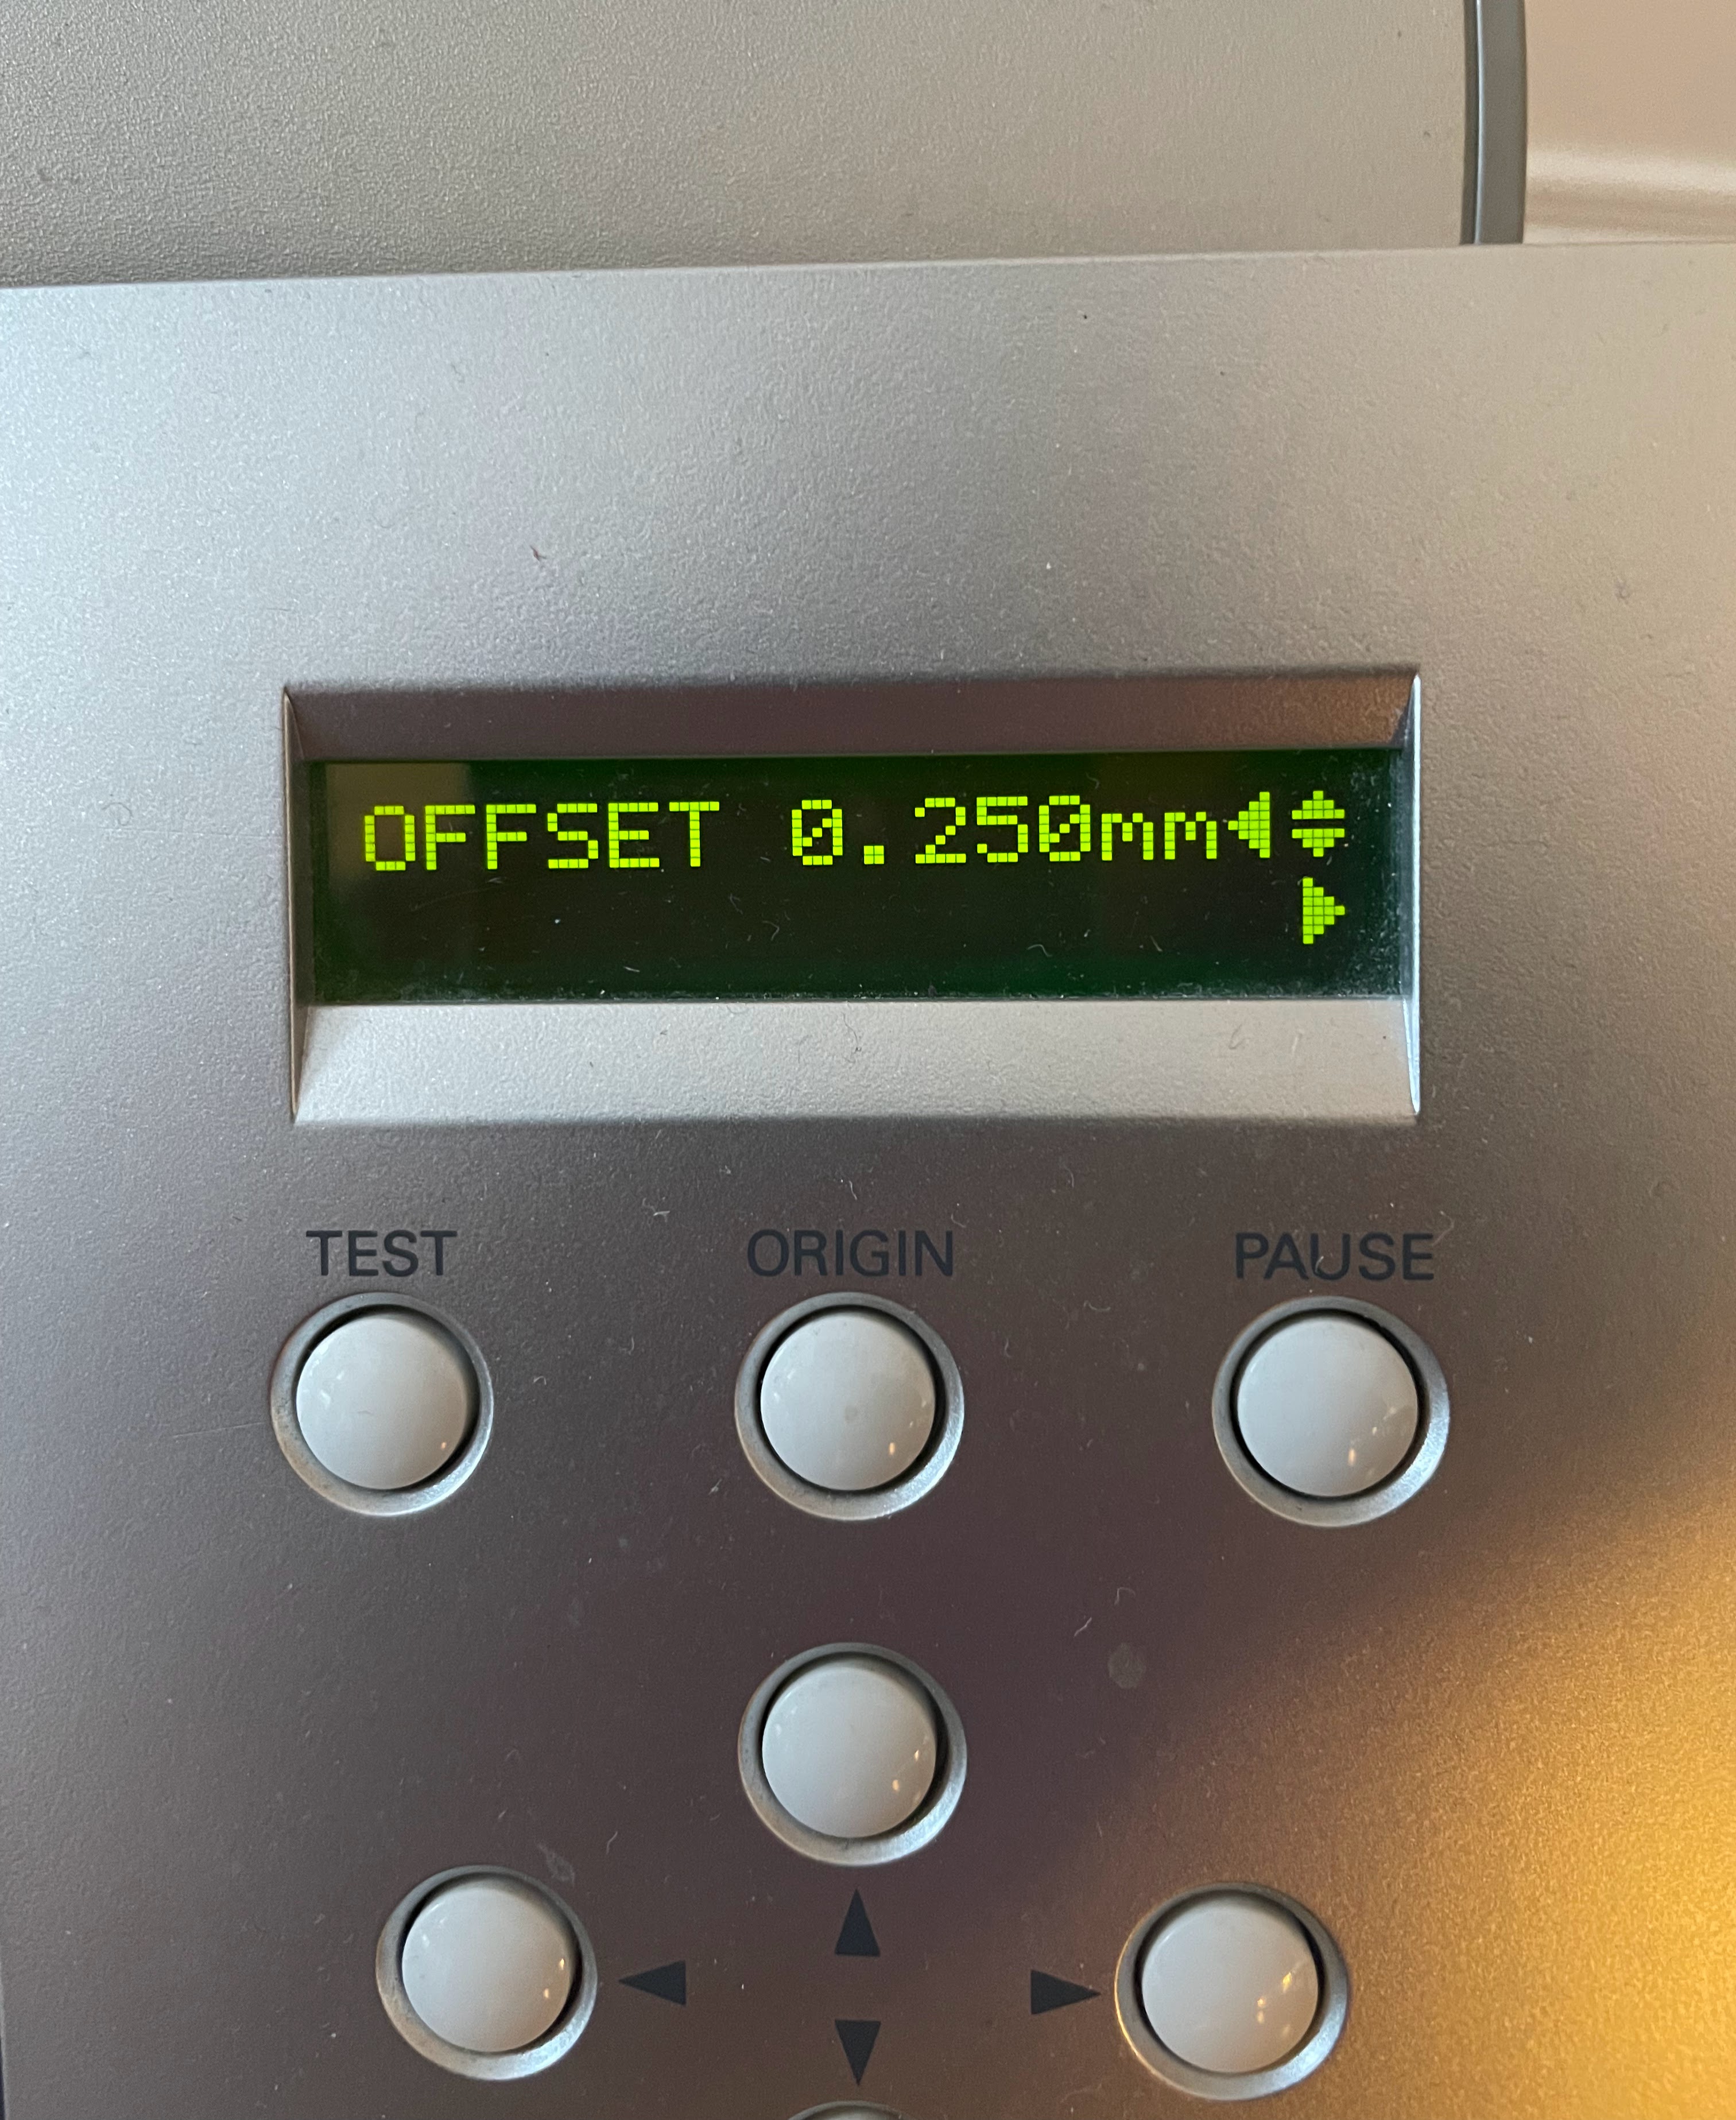
Blade offset refers to the precise point on the blade that meets the material during a cut. In other words, the offset compensates for the difference between the center of the blade, and the point where the cut is being made.
Most of the time, the offset value is preset on your machine and you don’t have to touch it. For the Roland GX-24, the offset is preset to a standard 0.250 mm. This offset has always produced great cuts for me.
However, if you make other blade adjustments, you just might find that corners are being cut slightly too far or not far enough. This is a sign that the offset needs adjusting.
Every machine will have a different way of changing the offset setting, so consult your owner’s manual to learn how to set yours.
Blade Depth
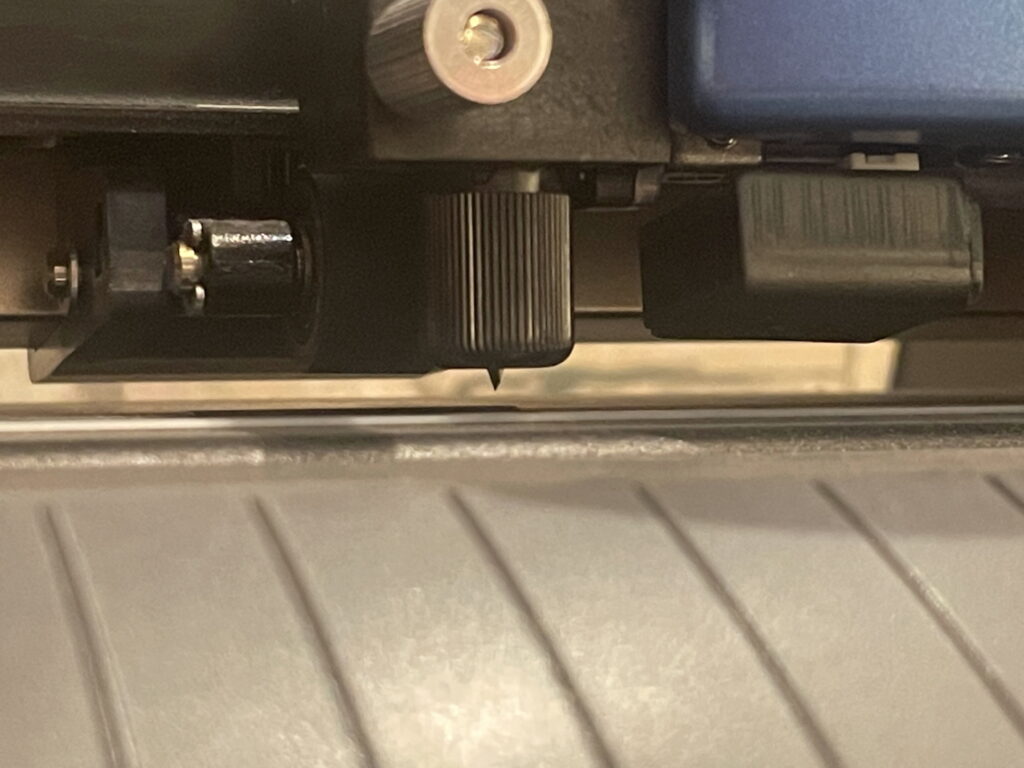
The depth is how much your blade protrudes from the holder. The general idea for this setting is to expose enough to cut through the material but no more.
If you’re cutting vinyl, excessive depth will risk cutting into the backing paper and having it come up when you’re doing the vinyl transfer. Not enough depth will result in the material not cutting all the way through.
Always cut a test section before cutting a full-sized design.
Most vinyl cutters adjust the cutting depth manually. A good starting point is 0.38 millimeters (15 Mil) which is about half the thickness of a credit card.
Blade Pressure / Downforce
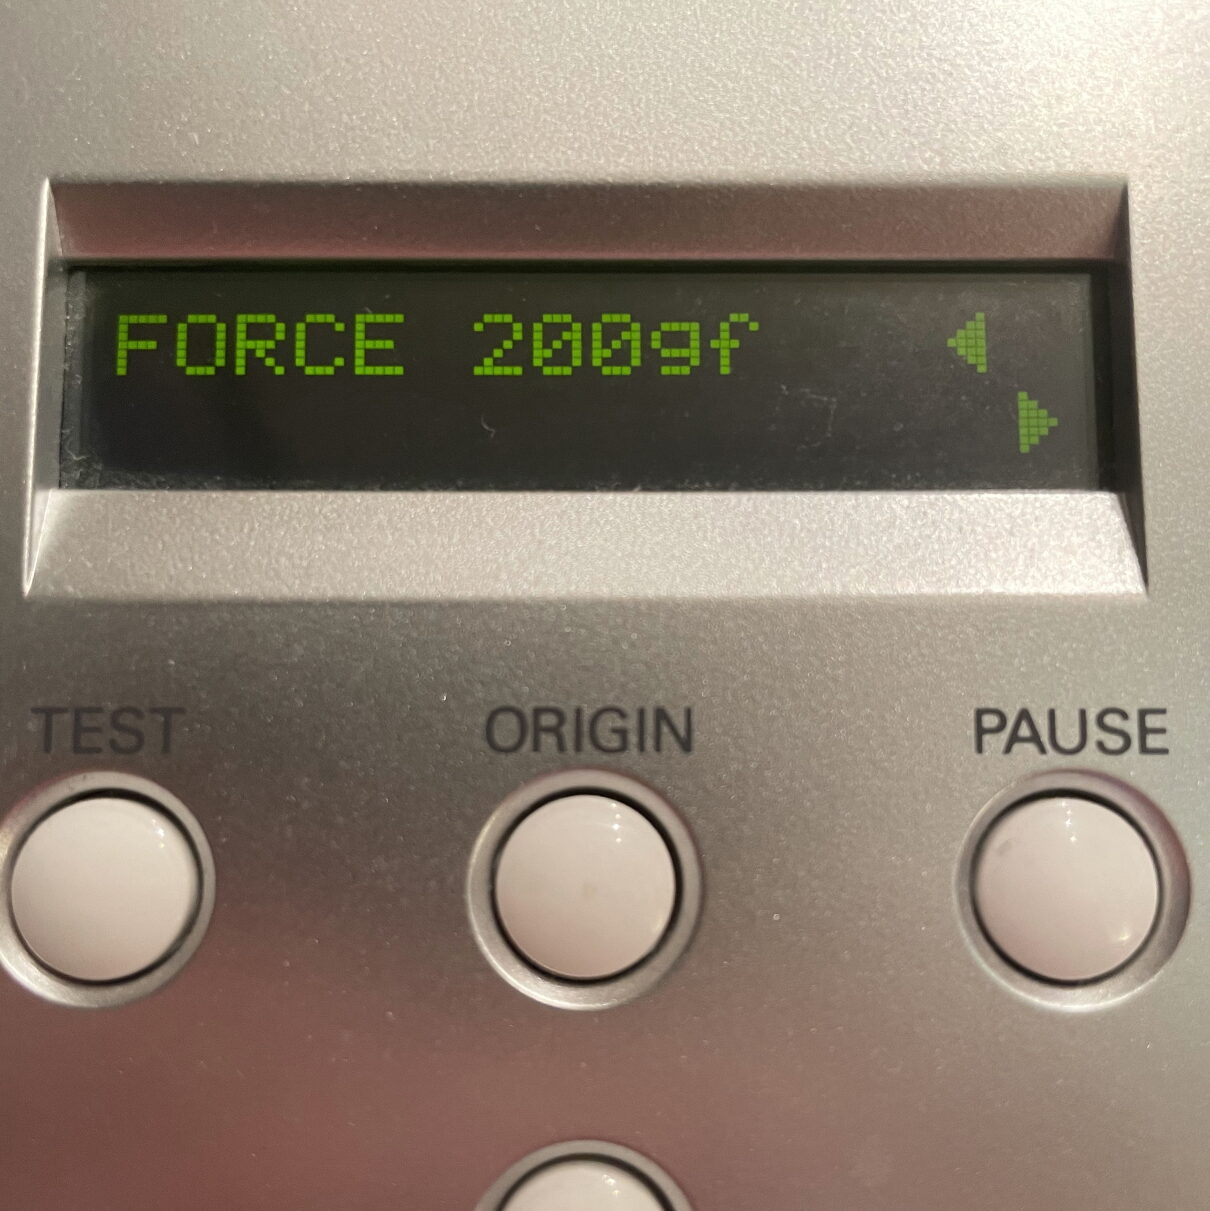
The “pressure” setting, sometimes referred to as the “downforce” is how hard the blade is being pushed down into the material.
The amount of downforce required depends on the type of material you’re cutting, the value of your other settings, and the specific machine you are using. More depth requires less downforce. Thinner material will also require less downforce than cutting thicker material.
Always set your depth before setting your downforce. Downforce is more of a tweak for optimal performance than it is a compensation for improper depth setting.
Like the depth setting, the idea is to cut through the vinyl but not through the backing paper. Keep cutting test strips and making adjustments until it cuts just right.
I personally set the downforce on my Roland GX-24 at 140 grams for cutting vinyl and 200 grams for cutting mylar stencils. These settings will vary from machine to machine but that will give you a good starting place for setting your own.
Cutting Vinyl vs. Cutting Stencils
Pressure and depth settings have to be more precise for vinyl cutting because you want to cut through the film but not through the backing paper.
With stencils, you want to cut all the way through the material. This means that you can get away with overshooting the pressure and depth settings a little bit more.
However, too must extension and downforce will cut into your mat, and dull your blade quicker. So the same process applies when cutting stencil material – set up your machine to cut through, but not any more than needed.
For really tough stencil material, a deep point blade or a 60 ° blade may be needed.
Check out this article for a full breakdown on how to cut stencils with a vinyl cutter.
Vinyl cutters are really awesome tools that can help you in so many ways. I think that vinyl cutters are a really great investment for anyone that is into painting, crafting, sign making, and many other creative pursuits.
The blade is such an integral part of the vinyl cutter, it’s so important to make sure it is in working order. Follow the information in this article to make sure that your blades are cutting properly – get blades made from good material, the proper angle for the job, changed regularly, and with the proper settings.
With that, have fun cutting!